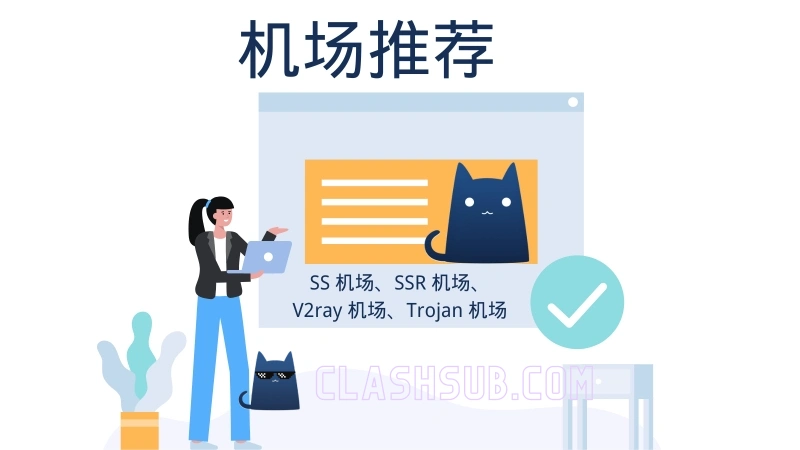


2025 年流行的翻墙机场推荐,机场梯子适合已经翻墙很久,掌握了一些翻墙知识的同学。机场一般采用专用的翻墙协议,如 Shadowsocks、ShadowsocksR、V2ray(Vmess)、Trojan 等, 适配于 Clash、Shadowrocket、Quantumult X、Stash、Surge、V2rayN、Surfboard 等多种客户端。翻墙机场不是VPN,但胜过VPN。
翻墙机场不同于一键VPN,采用针对GFW开发的翻墙协议,在速度和稳定性方面表现十分优异。需要注册账号购买订阅并搭配第三方软件使用,下面是各常用平台翻墙软件安装地址。 注意:你个人的订阅链接中包含连接信息,等同于账号密码,切记不要泄露。若发现自己的订阅套餐流量异常,请即时前往机场网站重置订阅链接。

- Windows :Clash for Windows
- macOS:ClashX
- 安卓:Clash for Android
- iOS:Stash – Clash for iOS
ClashSub 博客精选了好用的翻墙机场梯子,支持 Clash、Shadowrocket、Quantumult X、Stash、Surge、V2ray 等多种流行客户端。排名不分先后顺序。建议翻墙者购买月付套餐,满意之后再决定购买更长时间套餐,另外,一定要有备用的翻墙梯子,避免完全失联。

- 2025 稳定翻墙机场推荐
- Trojan 协议机场
- 高端专线翻墙机场
- 新用户注册8折优惠
WgetCloud (原 GaCloud) 是一家主打稳定翻墙的机场服务商,采用国内优质服务器接入,亚马逊 Global Accelerator 专线加速。WgetCloud 由海外团队运作,除了支持常见的 Shadowsocks 协议外,也支持 V2ray、SSR 和 Trojan 协议,套餐价格相对偏贵,属于高端翻墙机场,适合追求极致稳定的翻墙用户,如外贸工作、开发人员使用。支持定制套餐,重度翻墙用户或团队用户可在官网「增值服务」中进行流量和设备数量自定义套餐。套餐定制也支持流量包和限时1年时长的按量付费套餐。
套餐价格:
- 基础专线:月付:¥59/月,140G流量/月。季付:¥162/季,200G流量/月。年付:¥588/年,240G流量/月。
- 优质专线:月付:¥69/月,160G流量/月。季付:¥195/季,220G流量/月。年付:¥708/年,280G流量/月。
- 精品专线:月付:¥79/月,180G流量/月。季付:¥228/季,240G流量/月。年付:¥828/年,320G流量/月。
WgetCloud 机场官网 | WgetCloud 全球加速怎么样?

- Shadowsocks 机场
- IPLC专线翻墙机场
悠兔机场创立于 2022 年 8 月,机场主身处海外,Shadowsocks 协议节点,国内有多个入口并做了负载,过境线路有公网隧道和 IPLC 专线。悠兔机场注册可免费试用,新用户还可使用8折优惠券:888
套餐价格:
- 基础套餐:¥20/月,100G流量。
- 进阶套餐:¥30/月,200G流量。
- 高级套餐:¥50/月,500G流量。
- 至尊套餐:¥100/月,1000G流量。

- V2ray 翻墙机场
- IPLC/IEPL 专线机场
- 9折优惠码:999
SSRDOG 是一家运营始于2022年的翻墙机场,采用V2ray安全协议,线路有 IEPL 和 IPLC 专线,对 Netflix、Disney+ 流媒体解锁支持度也很好。SSRDOG 机场有定制的一键翻墙VPN客户端,支持安卓、Mac 和 Windows 。iOS 用户推荐使用 Clash for iOS – Stash 代理软件。SSRDOG 机场注册可免费试用,除了常规包月套餐外,也有不限时长的按量付费流量包套餐,套餐年付均有优惠。
套餐价格:
- 轻量套餐:¥25/月,150G流量,限速300Mbps。
- 标准套餐:¥35/月,300G流量,限速500Mbps。
- 企业套餐:¥75/月,850G流量,限速1000Mbps。

- Shadowsocks 机场
- IPLC专线翻墙机场
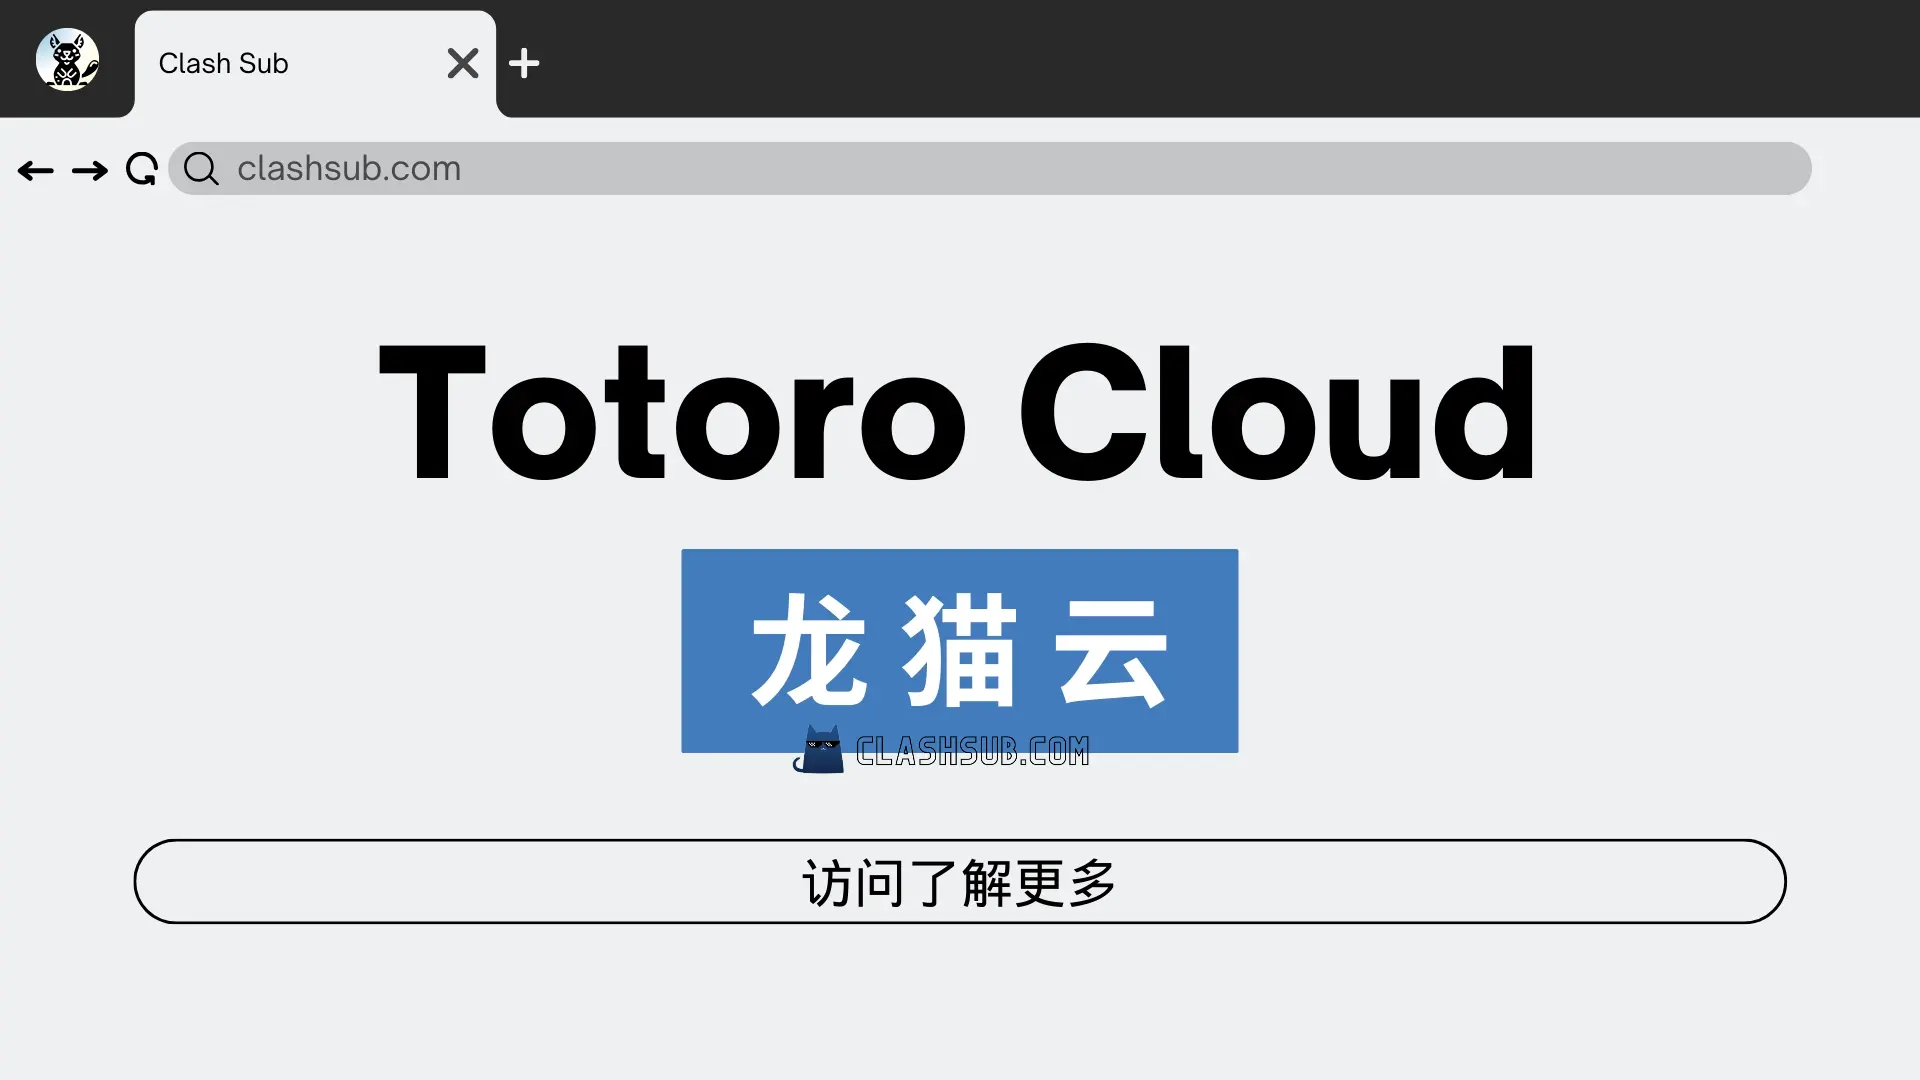
Totoro Cloud 龙猫云是一家低调的专线机场,海外团队运营,Shadowsocks 协议节点,IPLC 多入口负载专线网络,颇具实力。Totoro Cloud 机场支持 Netflix、Disney+、Youtube Premium 和 ChatGPT 解锁,目前优惠力度较大,可使用优惠码获取最低 5 折优惠,名额有限。针对第一次扬帆出海的新手用户,Totoro Cloud 机场还提供远程一对一的指导,小白新手也不用有任何担心。
线路特点:IPLC 专线;深圳电信、广州电信入口
套餐价格:
- VIP1:¥15/月,100G流量/月。
- VIP2:¥30/月,200G流量/月。
- VIP3:¥60/月,400G流量/月。

- Shadowsocks 机场
- 性价比中转机场
- 注册免费试用
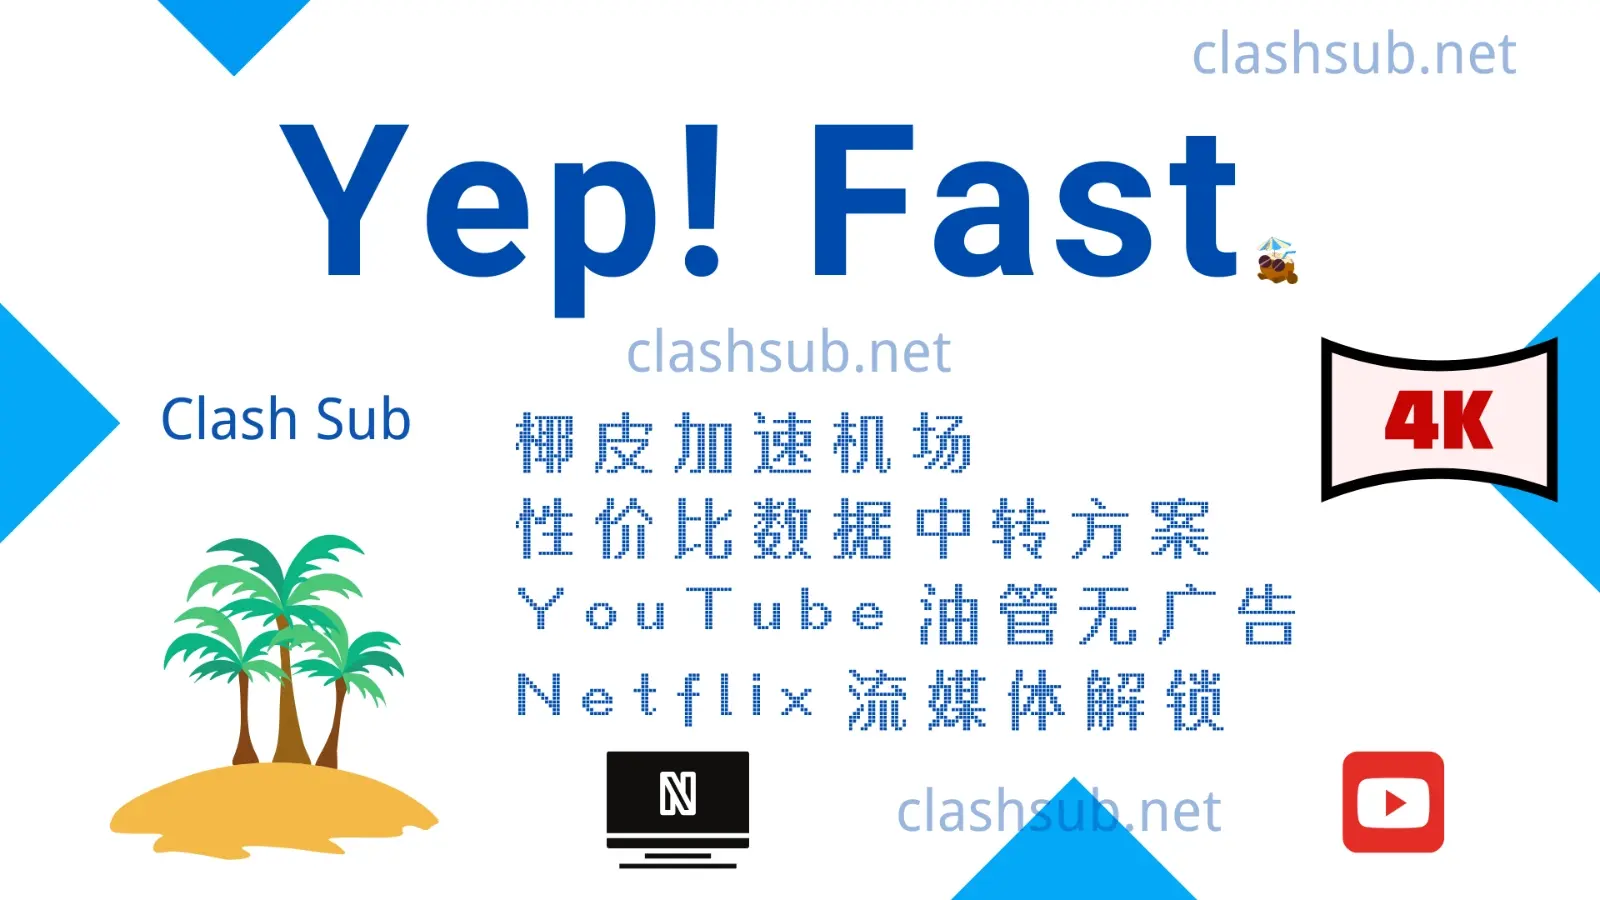
YepFast 椰皮加速机场是一家提供 Shadowsocks 加速协议的翻墙机场,线路为内中转加速,套餐起始价格低,提供多个国家和地区的家庭宽带 IP 节点,有 YouTube 免广告节点,整体而言很有性价比的机场,同时机场本身对流媒体平台的支持度也十分不错,解锁 Netflix、Disney+、TikTok 和 ChatGPT 等服务。
线路特点:公网隧道;广东移动多组入口
套餐价格:
- 轻量丨椰汁 Lv.1:¥11.9/月,160G流量/月。30+节点。
- 普通丨椰肉 Lv.2:¥25.9/月,388G流量/月。40+节点。
- 高级丨椰奶 Lv.3:¥29.9/月,600G流量/月。40+节点。
- 旗舰丨椰油 Lv.4:¥69.9/月,1800G流量/月。40+节点。

- 老牌翻墙机场
- 稳定中转机场
- IPLC专线翻墙机场
桔子云(橘子云) 是一家老牌翻墙机场梯子,提供SSR和V2ray翻墙协议节点,国内中转和IPLC内网专线。IPLC专线不经过 GFW,即便是敏感时期,稳定性也有保证,不担心被封锁。此外,桔子云(橘子云)机场也常有优惠活动,套餐包年优惠额度比较大。
套餐价格:
- 入门版:¥19.9/月,100G流量,限速60M,限3台设备。不可使用IPLC专线节点。
- 基础版:¥29.9/月,200G流量,限速150M,限5台设备。不可使用IPLC专线节点。
- 标准版:¥39.9/月,350G流量,限速300M,限8台设备。不可使用IPLC专线节点。
- 旗舰版:¥59.9/月,600G流量,不限速,限16台设备。包含IPLC在内的全节点解锁。
- 旗舰版:¥99/月,1200G流量,不限速,限16台设备。包含IPLC在内的全节点解锁。

- IPLC 专线节点
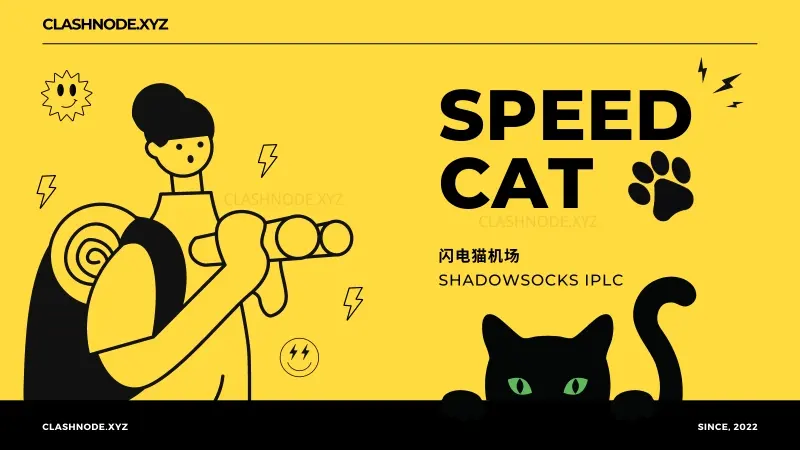
- 高端翻墙机场
- Shadowsocks 翻墙机场
闪电猫 SpeedCAT 机场是一家主推高端稳定IPLC专线的翻墙机场,采用 Shadowsocks专用翻墙协议。SpeedCAT 机场除了支持免费试用之外,也常有优惠活动推出,年付还有一定程度优惠。此外,SpeedCAT 机场有针对企业的套餐,适合外贸工作。
套餐价格:
- 迷你猫:¥19/月,70G流量/月,限速100Mbps,限2台设备。¥103/半年,¥183/年。
- 闪电猫:¥39/月,150G流量/月,限速300Mbps,限2台设备。¥375/年,限5台设备。
- 霹雳猫:¥79/月,300G流量/月,限速700Mbps,限10台设备。¥427/半年,320G流量/月。¥759/年。
- 雷神猫:¥159/月,650G流量/月,不限速,限15台设备。¥859/半年。¥1529/年。

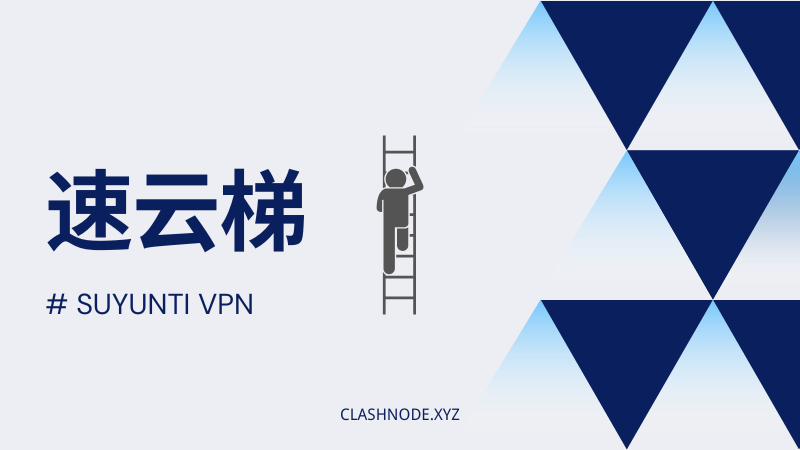
- 稳定中转机场
- IPLC专线翻墙机场
- SSR/V2ray 机场
速云梯提供海量 SSR/V2ray 翻墙协议节点,有国内中转和IPLC内网专线。IPLC专线不经过 GFW,即便是敏感时期,稳定性也有保证,不担心被封锁。年付用户可使用8折优惠码:ac888
套餐价格:
- 入门版:¥15.9/月,100G流量,限速60M,限3台设备。不可使用IPLC专线节点。
- 基础版:¥25.9/月,200G流量,限速150M,限5台设备。不可使用IPLC专线节点。
- 标准版:¥35.9/月,350G流量,限速300M,限8台设备。不可使用IPLC专线节点。
- 旗舰版:¥55.9/月,600G流量,不限速,限16台设备。包含IPLC在内的全节点解锁。

- Shadowsocks 翻墙机场
- IPLC 内网专线加速
FlyingBird 飞鸟机场是一家新晋 Shadowsocks 翻墙服务商,采用国内中转和IEPL内网专线节点,服务稳定可靠。电脑和安卓系统可以使用推荐的 Clash 客户端,iOS需要搭配第三方付费软件如 Shadowrocket 或 Stash 使用。FlyingBird 飞鸟机场对年付套餐优惠力度较大,所有套餐季付9折,半年85折,年付8折。除了优惠力度大之外,飞鸟机场对 Netflix、Disney+ 流媒体解锁支持度也很好。
套餐价格:
- 青铜套餐:¥15/月,100G流量/月,不限速不限设备。
- 白银套餐:¥30/月,200G流量/月,不限速不限设备。
- 黄金套餐:¥75/月,500G流量/月,不限速不限设备。
- 钻石套餐:¥150/月,1000G流量/月,不限速不限设备。
FlyingBird 官网 | FlyingBird 飞鸟机场怎么样?

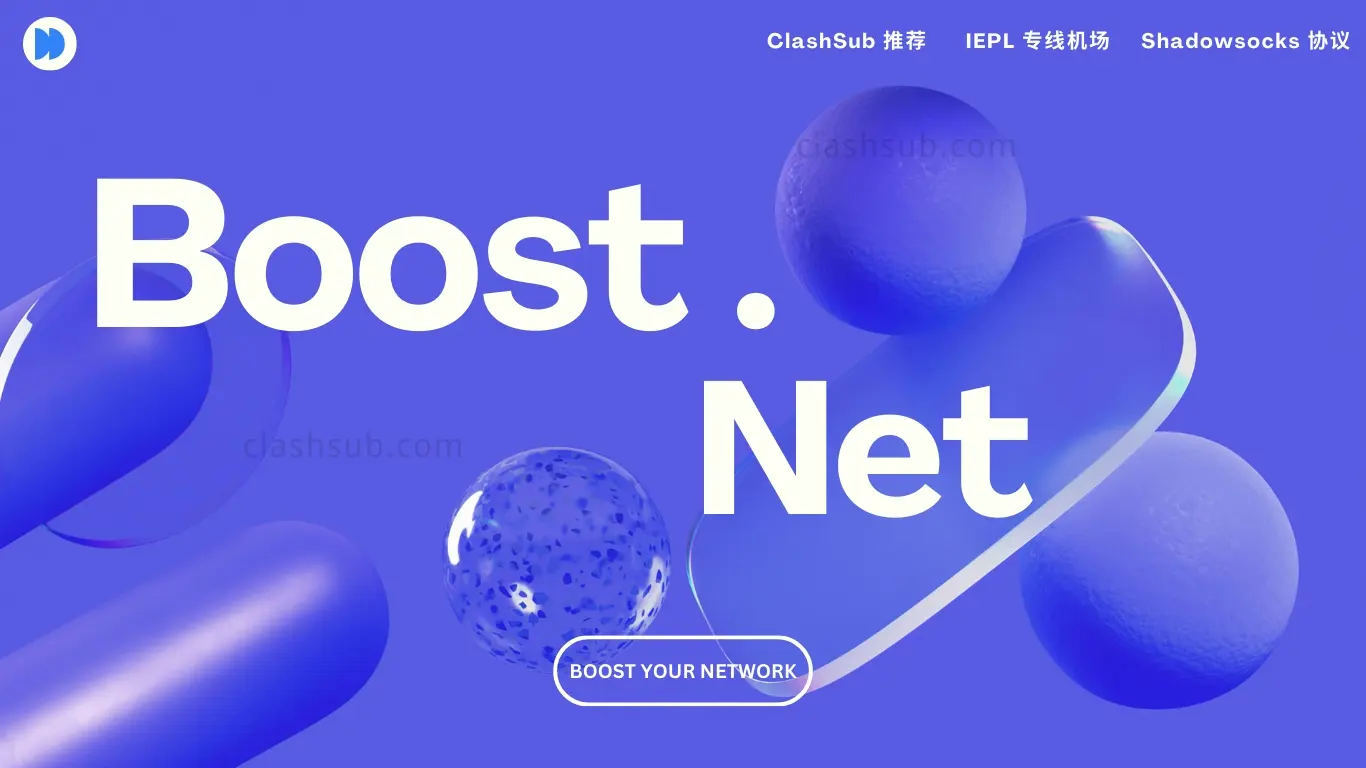
- SS 翻墙机场
- IEPL 专线
Boost Net 机场属于高端机场之一,提供 50+ 深港 IEPL 专线节点,Shadowsocks 翻墙节点,主打精品稳定,对 Netflix、Disney+ 流媒体解锁支持度也很好。新用户注册 Boost Net 可领取 8 折优惠,优惠码:boost
套餐价格:
- ¥39/月,200G流量/月。
- ¥58/月,400G流量/月。
- ¥108/月,1000G流量/月。
- ¥500/月,3000G流量/月。

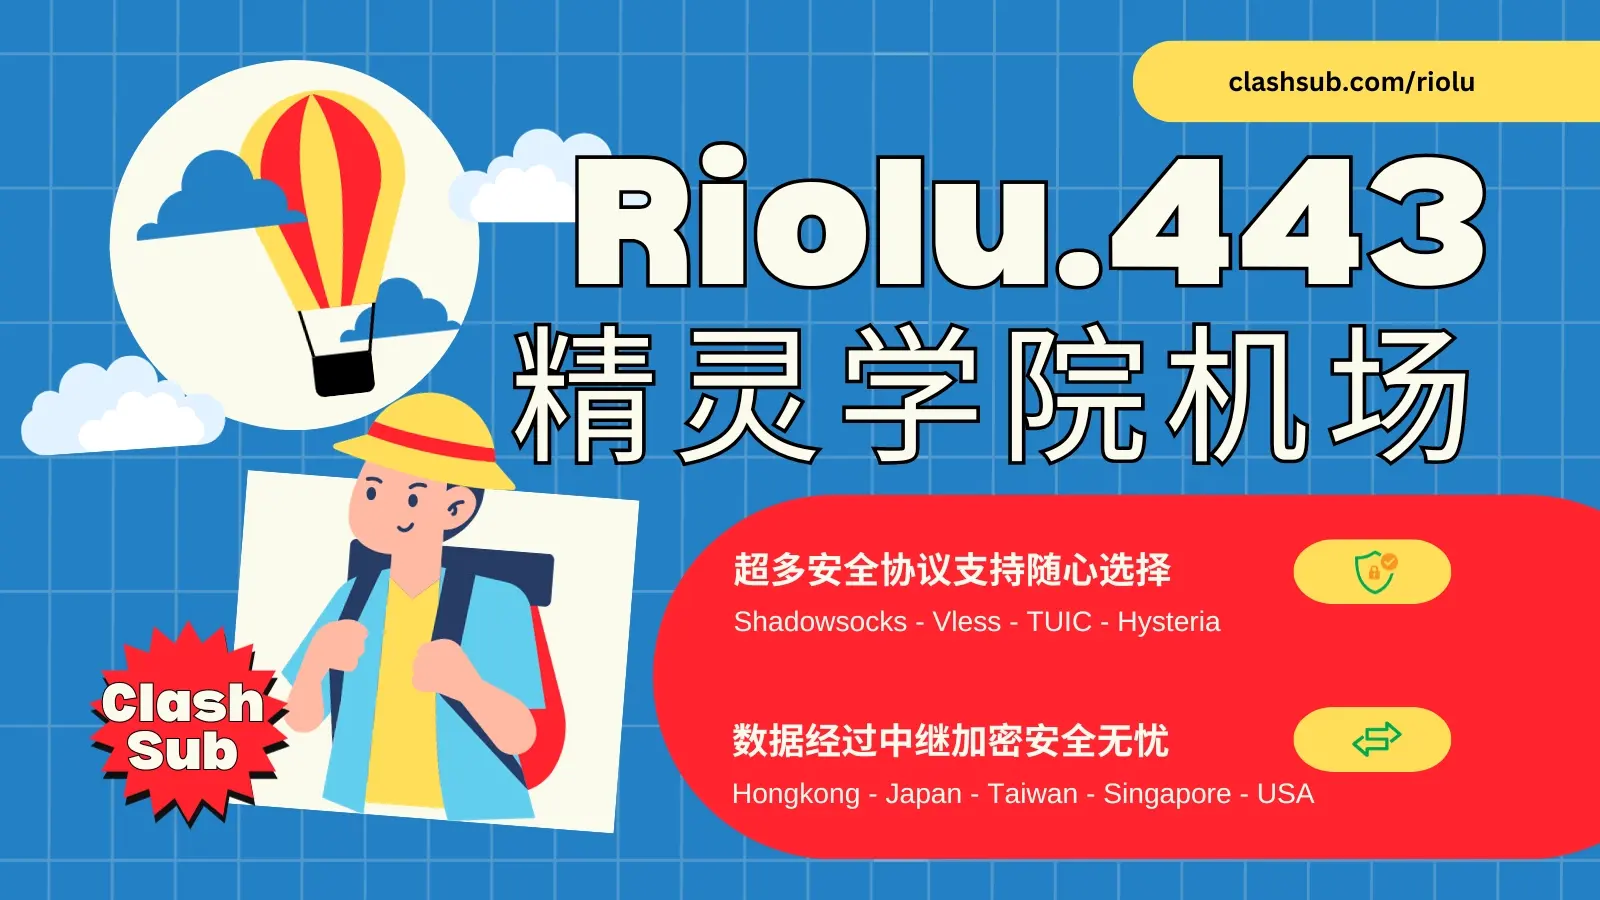
- SS/Reality/hysteria 多协议机场
- 注册免费试用
Riolu443 精灵学院机场是一家提供 Shadowsocks、Shadowsocks-2022、Vless+Reality、TUIC v5、hysteria(2) 多协议的翻墙机场,线路为大陆直连和国内中转加速,套餐起始价格低,可以说是一家很有性价比的机场,除了包月套餐也有不限时长按量付费提供。由于并非所有客户端都支持新协议,iOS 需使用 Shadowrocket 或 sing-box,其他平台需要使用 Clash Meta 内核客户端。精灵学院机场有定制的 EMBY 资源服务器,同时机场本身对流媒体平台的支持度也十分不错,解锁 Netflix、Disney+、TikTok 和 ChatGPT 等服务。
套餐价格:
- Iron:¥6/月,30G流量/月。
- Copper:¥12/月,120G流量/月。
- Silver:¥24/月,240G流量/月。
- Gold:¥36/月,360G流量/月。
- Platinum:¥48/月,480G流量/月。
- Diamond:¥60/月,600G流量/月。

- Shadowsocks/Trojan 翻墙机场
- 高端翻墙机场
- 稳定专线机场
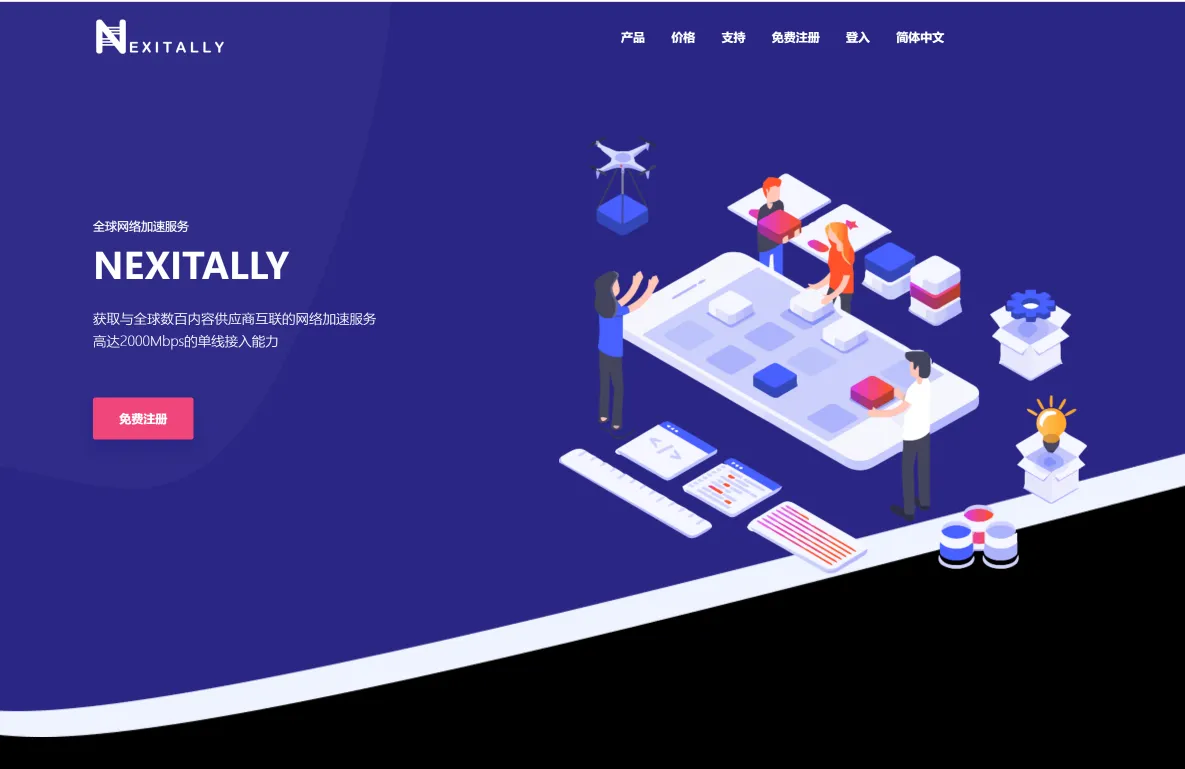
Nexitally 奶昔机场是一家成立于2017年的翻墙机场,支持 Shadowsocks、Trojan 多种专用翻墙协议。Nexitally 不同于那些采用 SSpanel和V2board 面板的机场,其面板为自主开发,彰显技术实力,同时采用高端专线出墙,国内多线服务器接入,保证任何时候都可以顺利翻墙出海,非常适合办公等商务需求的用户。针对个人用户,Nexitally 也能很好的满足观影需求,支持Netflix、Disney+等流媒体解锁。
套餐价格:
- Smart Air:¥71/月;¥360/半年;¥624/年。200G/月,至多2个IP。
- Smart Access:¥111.87/月;¥577.2/半年;¥1048.92/年。500G/月,至多2个IP。
Nexitally 机场官网 | Nexitally 奶昔机场怎么样?

- Shadowsocks机场
- IPLC/IEPL 专线机场
肥猫云 FATCAT Cloud 是一家性价比中转机场,海外团队运营,Shadowsocks 协议节点,多入口负载,支持 Netflix、Disney+、Youtube Premium 和 ChatGPT 解锁。
套餐价格:
- 肥猫小包:¥72/年,60G流量/月。
- 基础版:¥20/月,200G流量/月。
- 标准版:¥40/月,400G流量/月。
- 旗舰版:¥100/月,1000G流量/月。

- Shadowsocks 翻墙机场
- 中转/IPLC 专线
- 免费试用
Web3VPN 是一家成立于2021年下半年的翻墙机场,采用 Shadowsocks 协议,有隧道中转和 IPLC 专线节点提供。注册可免费试用1天。网站可直接使用 Metamask 加密货币钱包进行登录,并且支持加密货币付款方式。
套餐价格:
- VIP1:¥14.9/月,15G流量/月。
- VIP2:¥25/月,100G流量/月。

- Shadowsocks 机场
- 丰富的落地节点
- IPLC 专线网络
MESL Cloud 机场是一家创立于 2022 年的新晋机场服务商,采用 Shadowsocks 协议,国内有多个电信运营商入口,优质的 BGP 入口,IPLC 内网专线传输,有不错的流媒体解锁和 ChatGPT 支持,是一家很有实力的大机场。MESL 机场注册支持试用。
套餐价格:
- Premium 100G:¥72/季度,100G流量/月。
- Premium 200G:¥50/月,200G流量/月。
- Premium 300G:¥70/月,300G流量/月。
- Premium 500G:¥110/月,500G流量/月。
- Premium 1024G:¥210/月,1024G流量/月。

- Trojan 翻墙机场
- IEPL 专线机场
泡泡 Dog 泡泡狗机场是一家精品小众机场,拥有多个国内入口的专线机场。泡泡狗机场采用 Shadowsocks 协议,对 Netflix、Disney+ 流媒体及 ChatGPT 解锁提供了很好的支持。泡泡狗机场有全平台的定制客户端,iOS 用户无需再单独付费购买 Shadowrocket 等第三方工具。除了包月套餐泡泡狗也有不限时长的按量付费套餐。
套餐价格:
- ¥8.8/月,70G流量/月。
- ¥12.5/月,110G流量/月。
- ¥20/月,210G流量/月。
- ¥45/月,600G流量/月。

- Shadowsocks/Trojan 翻墙机场
- 唯云专线机场
Kuromis 库洛米是一家提供优质专线节点的新晋翻墙机场,支持 Shadowsocks、Trojan 多种协议,少有的唯云专线机场,和著名的 Nexitally 奶昔机场属于同一上游,稳定性出众。此外,Kuromis 库洛米也是 Netflix 、Disney+ 流媒体平台解锁支持度比较好的机场之一。
套餐价格:
- Kuromis Air:¥40/月;¥216/半年;¥384/年。50G/月,至多3个IP。
- Kuromis Basic:¥45/月;¥243/半年;¥459/年。200G/月,至多3个IP。
- Kuromis Ultra:¥75/月;¥405/半年;¥765/年。500G/月,至多3个IP。

- 老牌翻墙机场
- IEPL 专线翻墙
CATNET 是一家老牌翻墙机场,BGP内网跨境专线,Cloud Connect 云连接技术加持,Shadowsocks 协议节点。CATNET 属于高端机场,套餐设置简单,不打价格战,节点方面除了常用的香港、日本、新加坡、美国节点外,还有一些小众冷门地区节点提供,对 Netflix、Disney+ 和 Youtube Premium 解锁支持度也十分不错。
套餐价格:
- 普通订阅:¥25/月,100G流量。
- 进阶订阅:¥50/月,300G流量。

- IEPL 翻墙机场
- Shadowsocks 翻墙机场
- 便宜翻墙机场
白月光机场加速器是一家2021年开业的新机场,采用 Shadowsocks 专用翻墙协议,专线节点,负载均衡,稳定性不错,对 Netflix、Disney+ 流媒体解锁支持度也很好。白月光除了常规套餐之外,也有一次性流量包套餐,按量付费想用就用。
套餐价格:
- 小包:¥66/季度,140G流量/月。
- 中包:¥84/季度,230G流量/月。
- 大包:¥120/季度,400G流量/月。
- 超大包:¥180/季度,750G流量/月。
- 不差钱:¥230/季度,900G流量/月。
- 旗舰包:¥2500/年,2.5T流量/月。

- Shadowsocks 翻墙机场
- 注册免费试用
- IEPL 专线机场
SS-ID 机场加速器是一家新晋机场,采用 Shadowsocks 专用翻墙协议,IEPL 专线节点,负载均衡,带宽冗余充足,稳定性不错,提供国内几大常用地区节点,Netflix、Disney+、TikTok、ChatGPT 全套解锁。SS-ID 机场注册可免费试用半天,3G 免费流量。
套餐价格:
- ¥15/月,100G流量。
- ¥25/月,200G流量。
- ¥35/月,300G流量。
- ¥65/月,600G流量。

- Shadowsocks 翻墙机场
- 中转/IEPL 专线
NaiU 机场 Naiu Net,海外团队运营机场,正常节点IEPL专线接入,同时搭配0.2X的高质量公网隧道中转,Shadowsocks 协议,流媒体使用动态V6+家宽来解锁,支持 Netflix、Disney+、Youtube Premium 和 ChatGPT ,几乎支持节点当地所有内容。
线路特点:IEPL 专线、公网隧道;广东移动、联通、电信三线入口
套餐价格:
- Nano:¥15.9/月,100G流量。
- Micro:¥25.9/月,200G流量。
- Small:¥35.9/月,350G流量。
- Medium:¥55.9/月,700G流量。
- Large:¥95.9/月,1500G流量。

- Shadowsocks 机场
- BGP 入口专线机场
- 注册免费试用
OKANC 是一家创立于 2023 年的新晋机场服务商,由专业的海外团队运营,翻墙协议采用流行的 Shadowsocks 协议,国内采用 BGP 服务器入口,IEPL 专线网络跨境传输。OKANC 机场出道即巅峰,属于高端机场的行列,主要面向流媒体和商务群体,对 Netflix、Disney+ 和 Youtube Premium、TikTok、ChatGPT 解锁支持度十分不错。OKANC 机场注册可免费试用,满意后再付费。
线路特点:IEPL 专线;广东移动入口
套餐价格:
- Pro:¥46/月,328G流量/月。
- Max:¥52/月,600G流量/月。
- Max+:¥88/月,1024G流量/月。
更多–翻墙机场推荐汇总

如果你使用过多个翻墙机场,可能会发现他们的网站有一些相似性,这里并不要觉得太奇怪,翻墙机场一般采用开源面板,从而可以将更多精力放在优化翻墙线路上,用户也可因此获得便宜又稳定的翻墙线路。机场选择就是要多尝试,尽可能选择更短的付款周期,不要贪图小便宜被一家机场给锁死了,并且一定要有备用的机场或VPN梯子。
使用翻墙机场,一般无需纠结使用哪一种翻墙协议,Shadowsocks、V2ray、Trojan 在稳定性和速度方面的表现差异不大。Shadowsocks、V2ray 和 Trojan 协议,哪一种翻墙协议最好?
很多机场可能会宣传他们的IPLC、IEPL专线有多么稳定,这里其实完全不用在意,不管是直连、中转还是内网专线节点,只要能保证稳定性,就是好的线路。并非所谓的专线就比普通中转节点体验更好,这个只有实际体验,才能得出结论。
网络上的测速仅供参考,一切请以实际体验为准。不要过分在意速度峰值表现,没有任何意义,基本上速度能跑到50Mbps以上,少有发生断流显现,实际的用户体验就是十分优异的。除了测速,流媒体解锁情况也是如此,可能经常会发生变动,之前承诺解锁 Netflix、Disney+的节点可能过两天就无法正常观看了。 翻墙机场使用流程
翻墙机场的使用会比傻瓜式一键翻墙VPN麻烦一些,不过也很简单。 > 网站注册 — 购买套餐 — 下载软件 — 导入订阅 — 开启软件
其中的订阅链接等同于账户密码,不要公开发布在网络上。一旦发现流量使用异常,需要及时登录机场网站进行订阅链接重置。
苹果公司早在2017年就下载了中国区应用商店中的VPN应用,包含我们使用翻墙机场需要使用的 Shadowrocket、Quantumult X等软件。 所以目前为止,中国区苹果用户下载 VPN 或 Shadowrocket 一类代理软件,都需要通过在 App Store 中切换账号到非中国区才能顺利下载应用进而翻墙。 我们最常用的非中国区苹果账号一般是美区,可以根据网上的教程自己注册美区苹果账号,也可以直接购买现成的已购入 Shadowrocket 软件的美区账号,此方式更加简单快捷,推荐大多数翻墙者使用。
- 美区 Apple ID 购买入口
- Shadowrocket 小火箭已购 Apple ID 购买入口
- Quantumult X 已购美区 Apple ID 购买入口
如果自己有美区 Apple ID,即美区苹果账号,可以直接购买兑换码。

客户端的选择依赖于翻墙者选择什么样的翻墙服务。如果是选择一键翻墙VPN服务,如快连VPN,那么只能使用他们官方的应用程序的对应版本。如果选择翻墙机场,能够选择的客户端就很多了,下面分不同的操作系统列举一下。
iPhone 翻墙客户端
目前iOS系统上最流行的翻墙软件非小火箭莫属了,小火箭英文为 Shadowrocket,售价2.99美元,中国区App Store 无法下载。想要在iPhone上使用小火箭,需要通过非中国区Apple ID购买,这个Apple ID我们可以自己注册,也可以通过第三方网站购买成品账号。不建议从淘宝购买,因为遇到黑卡的概率很大,可能会导致账号被封锁。 Stash 即 Clash for iOS 售价3.99美元,使用同样简单,支持一键导入和手动导入。更多 iOS 翻墙代理软件请自行谷歌研究。
安卓手机翻墙客户端
安卓手机比较流行的几个代理软件有 Clash、SagerNet 和 v2rayNG。一般选择翻墙机场,那么最推荐使用Clash,直接导入订阅链接即可使用,Clash软件简单易用,且比较美观。如果你是自建翻墙节点,选择 SagerNet 或 v2rayNG 可能更为方便,可以通过二维码或SS/V2ray/Trojan 链接直接导入。
电脑翻墙客户端
不管是Windows还是macOS系统,最流行的都是 Clash,只是不同平台的Clash由不同开发者提供,所以名字也不太一样,同样使用机场的订阅链接导入即可使用。Windows 系统上,翻墙者最喜欢使用 Clash for Windows,新上线的 Clash Verge 也是不错的选择。在macOS系统上,翻墙者最喜欢使用的是 ClashX。
翻墙客户端下载地址汇总
不同的翻墙机场应对中国防火墙的力度不同,为了防止购买的机场VPN被完全封锁而导致无法顺利翻墙出海,ClashSub博客建议购买备用翻墙服务,或者将一些翻墙服务的免翻墙地址收藏到本地。一般而言,只有一个翻墙机场是不足以应付伟大的防火长城的,特别是遇上一些敏感时期。
收藏梯子,当然是多多益善,Clash Sub 分享的机场数量不多,如果想要直接搜藏海量机场库,可以订阅 Telegram 上的机场列表频道,品云测速频道,访问爱机场博客这个机场推荐与评测网站。
大部分的付费翻墙机场服务商都提供了即时聊天客服和详细的帮助文档,基本上你在使用过程中遇到的任何问题都可以得到解决。阅读文档后有不懂的可以善用谷歌,实在不行可以发送工单或找翻墙服务的客服寻求解决方案。 如果经历上述的方式你的问题也没有得到解决,也可以加入第三方独立的翻墙讨论区,和广大翻墙网友一同寻求解决方案。 #翻墙机场 #翻墙机场推荐 # 2025 机场推荐 #机场推荐 2025 #SS机场 #V2ray机场 #V2ray 机场推荐 #Trojan机场 #老牌翻墙机场 #高端翻墙机场
 https://github.com/lynkco01/jichangtuijian