

I discover few weeks ago the library Passport.js that you can find at this URL : http://www.passportjs.org/
It makes multiple Authentication through google, facebook, twitter and so on easy using just the ClientId and ClientSecret of the different platform.
It becomes a must have in my toolbox for managing this kind of challenge.
- How to use Passport.js
- How to create clientID and clientSecret for facebook
- How to create clientID and clientSecret for google
- Install Passport.js
$ npm install Passport.js
In the Express server, use :
const passport = require('passport');

app.use(passport.initialize());
app.use(passport.session());

passport.serializeUser(function (user, cb) {
  cb(null, user);
});

passport.deserializeUser(function (obj, cb) {
  cb(null, obj);
});
- Install the dependencies depending of the passport we need
$ npm install passport-facebook
$ npm install passport-google-oauth
- Enable the Passport depending of the passport
const FacebookStrategy = require('passport-facebook').Strategy;

passport.use(new FacebookStrategy({
    clientID: config.facebookAuth.clientID,
    clientSecret: config.facebookAuth.clientSecret,
    callbackURL: config.facebookAuth.callbackURL
  }, function (accessToken, refreshToken, profile, done) {
    return done(null, profile);
  }
));
const GoogleStrategy = require('passport-google-oauth').OAuth2Strategy;

passport.use(new GoogleStrategy({
    clientID: config.googleAuth.clientID,
    clientSecret: config.googleAuth.clientSecret,
    callbackURL: config.googleAuth.callbackURL
  }, function (accessToken, refreshToken, profile, done) {
    return done(null, profile);
  }
));
-
Add the ClientID and ClientSecret inside the config.js (see below how to get them)
-
Create the route for getting the information out of the Authentication
The scope depend of the Strategy (facebook or google…) and can be find on the documentation of the strategy (google documentation or facebook documentation…)
router.get('/profile', isLoggedIn, function (req, res) {
  console.log(req.user)
});

router.get('/auth/facebook', passport.authenticate('facebook', {
  scope: ['public_profile', 'email']
}));

router.get('/auth/facebook/callback',
  passport.authenticate('facebook', {
    successRedirect: '/profile',
    failureRedirect: '/error'
  })
);
router.get('/profile_google', isLoggedIn, function (req, res) {
  console.log(req.user)
});

router.get('/auth/google', passport.authenticate('google', {
  scope: ['profile', 'email']
}));

router.get('/auth/google/callback',
  passport.authenticate('google', {
    successRedirect: '/profile_google',
    failureRedirect: '/error'
  })
);
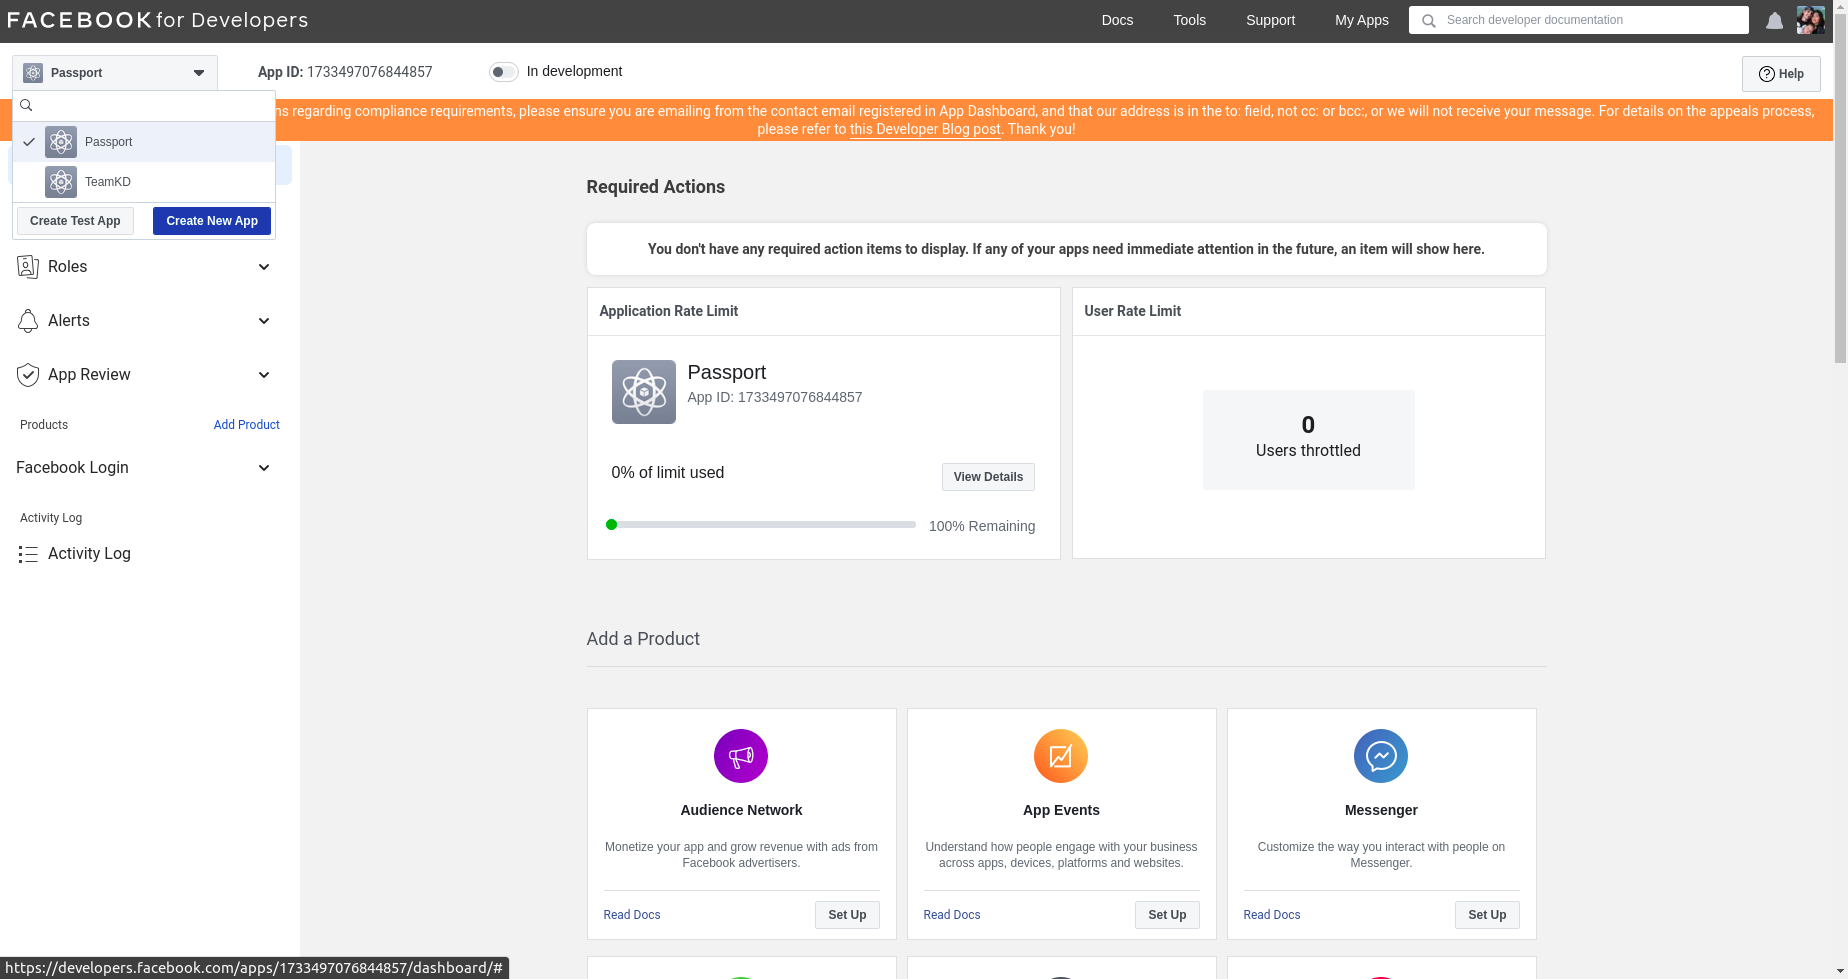
- First, connect to the facebook developer console : https://developers.facebook.com/

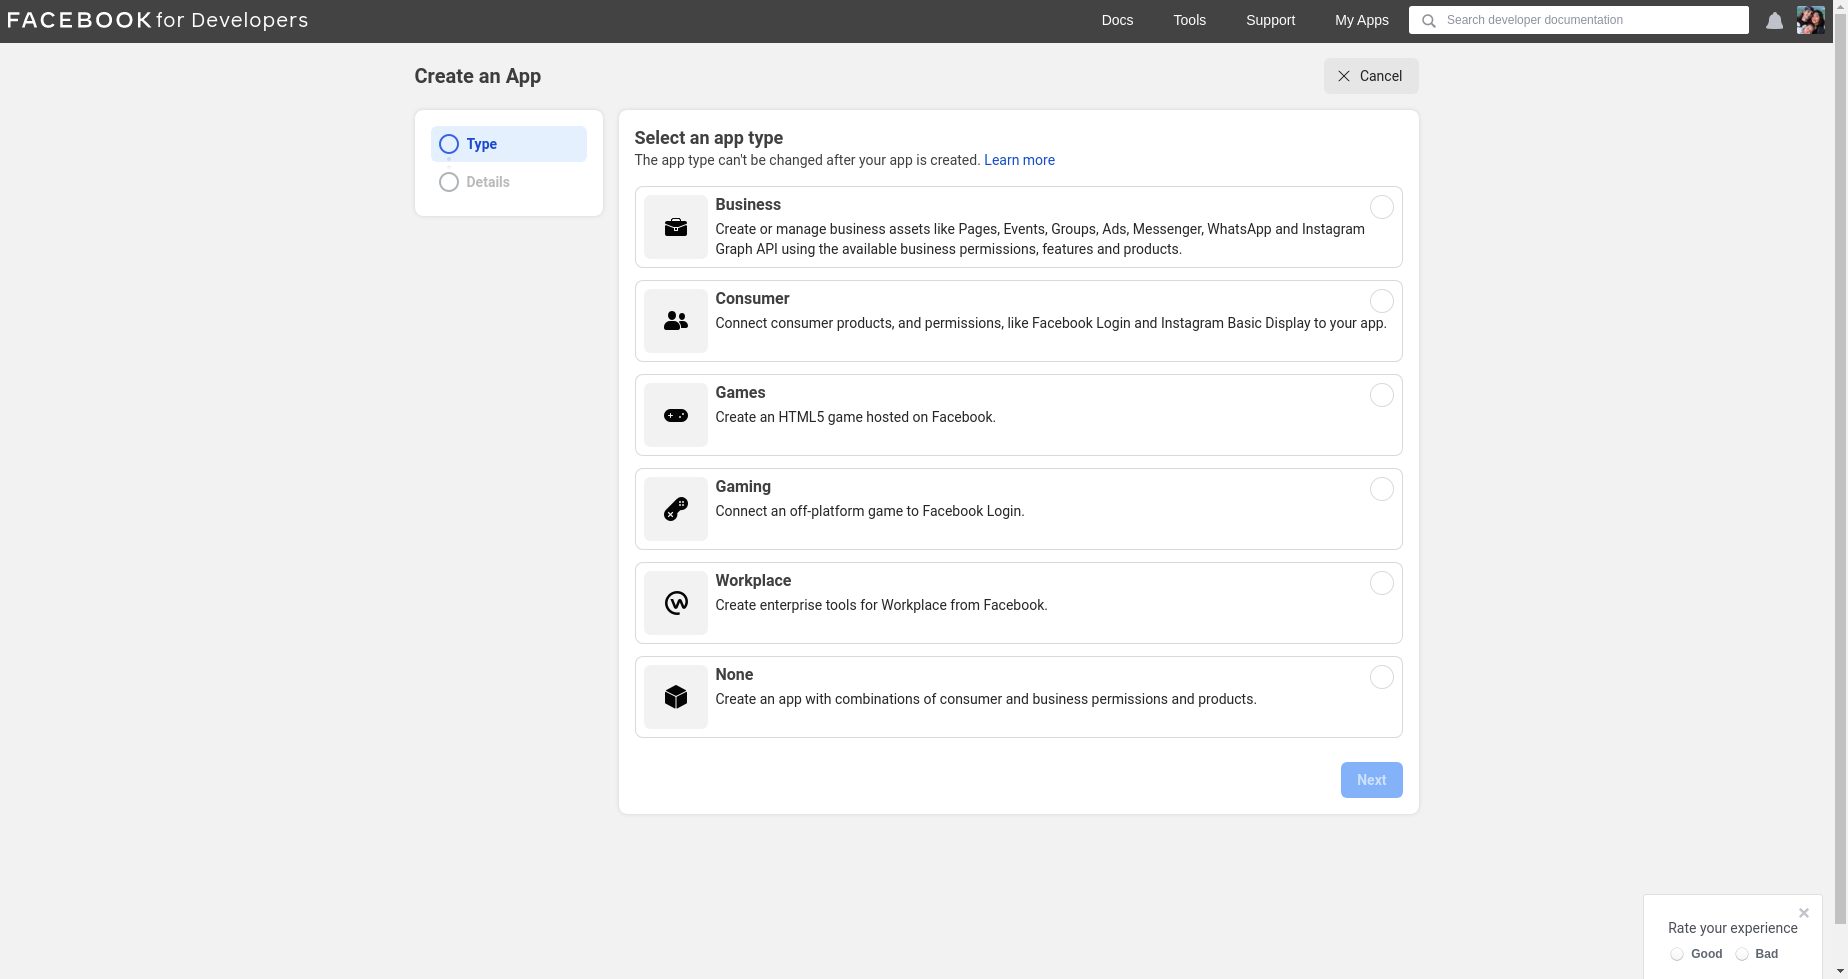
- Click on
create a new appand choose the type of app (nonein my case)

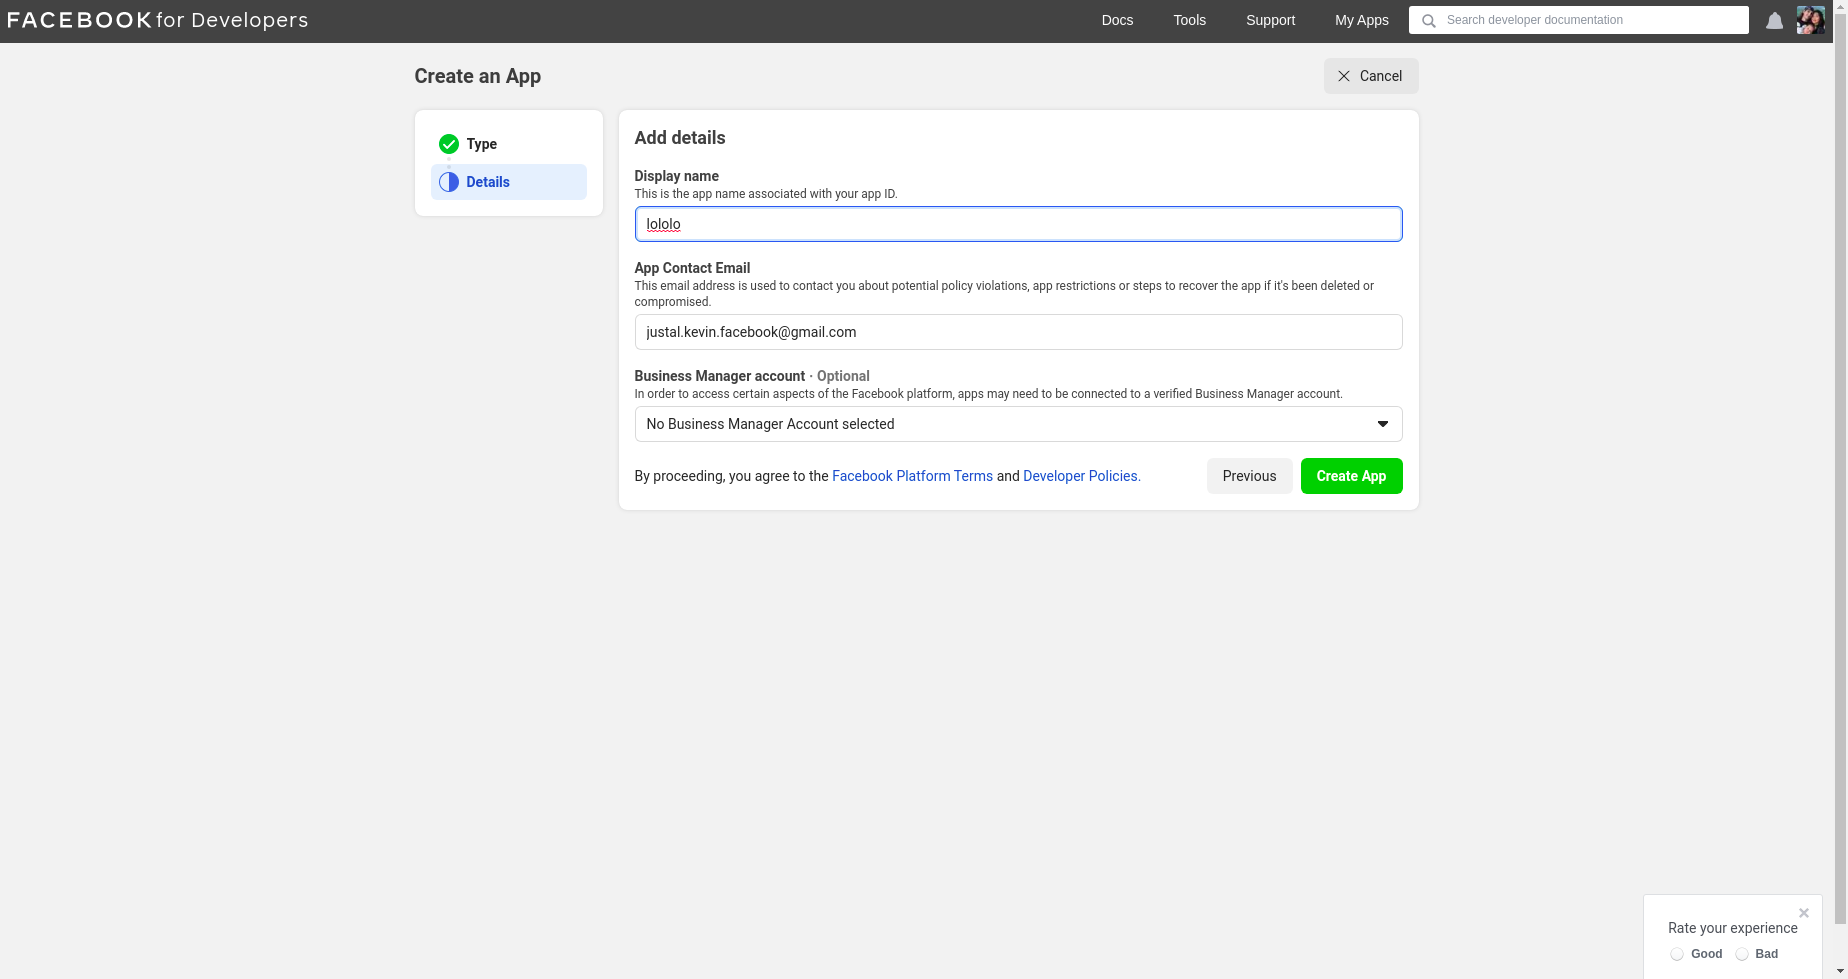
- Add the name to display in the facebook developer interface

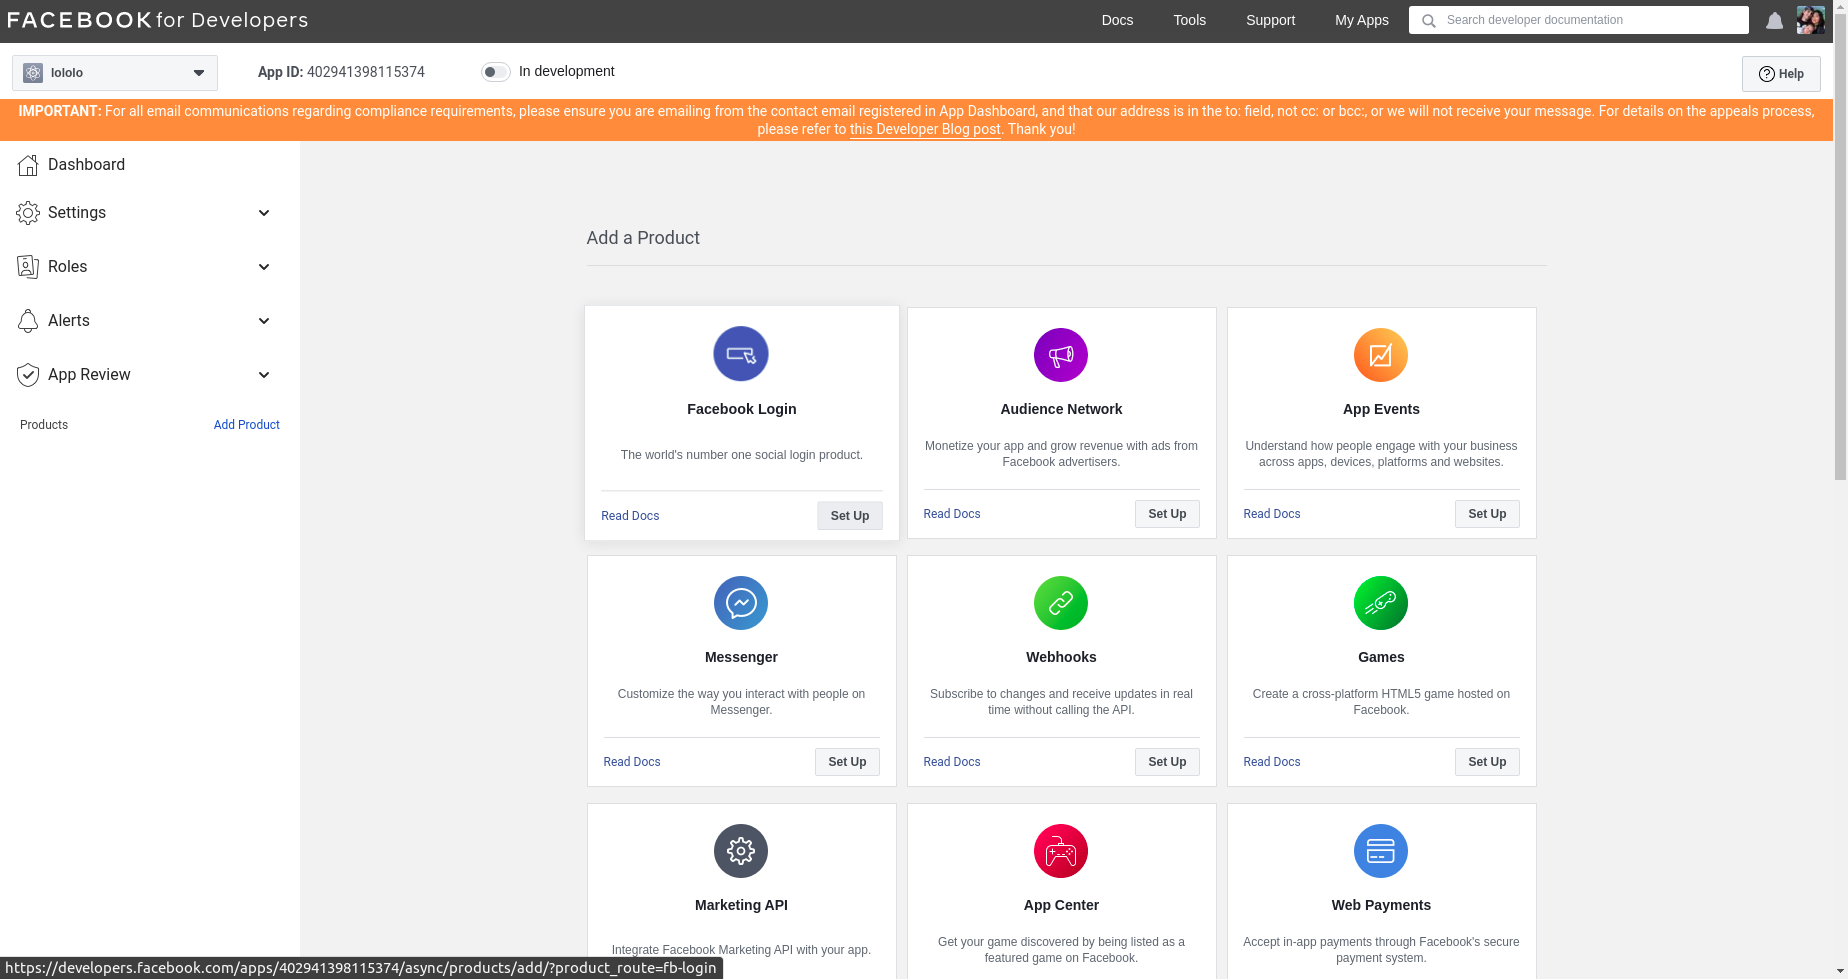
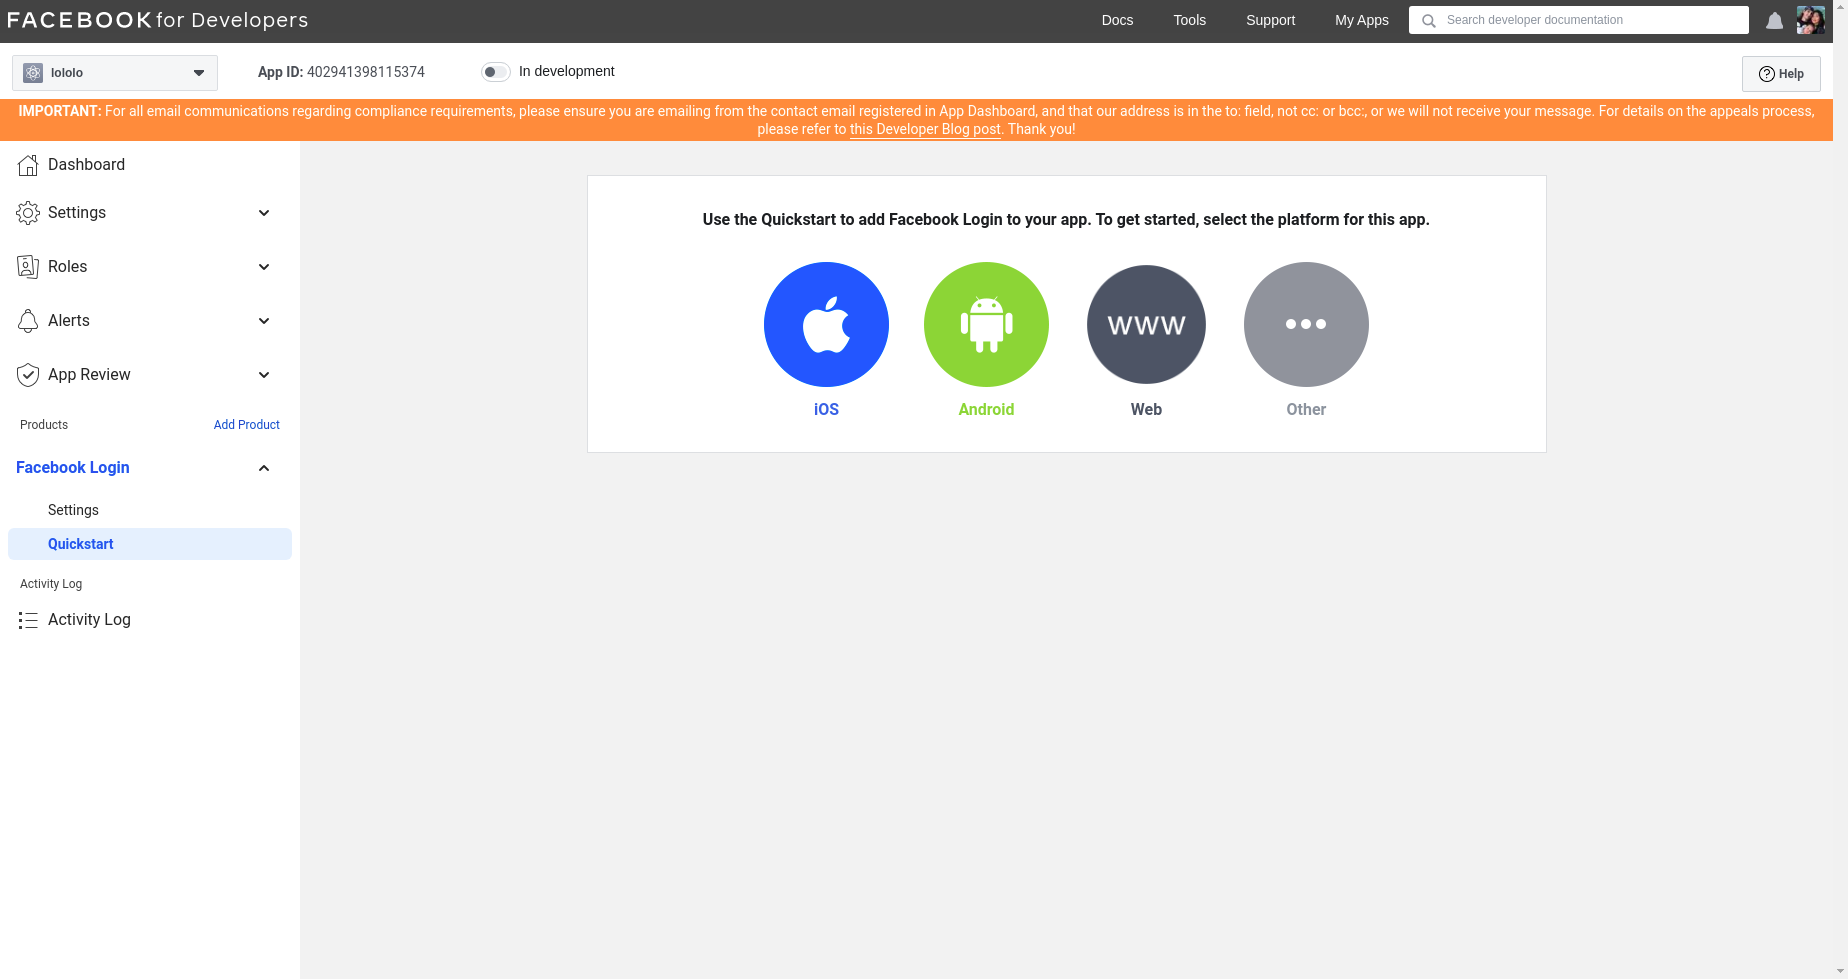
- Click on facebook login

- Click on
wwwsince we will be building a website

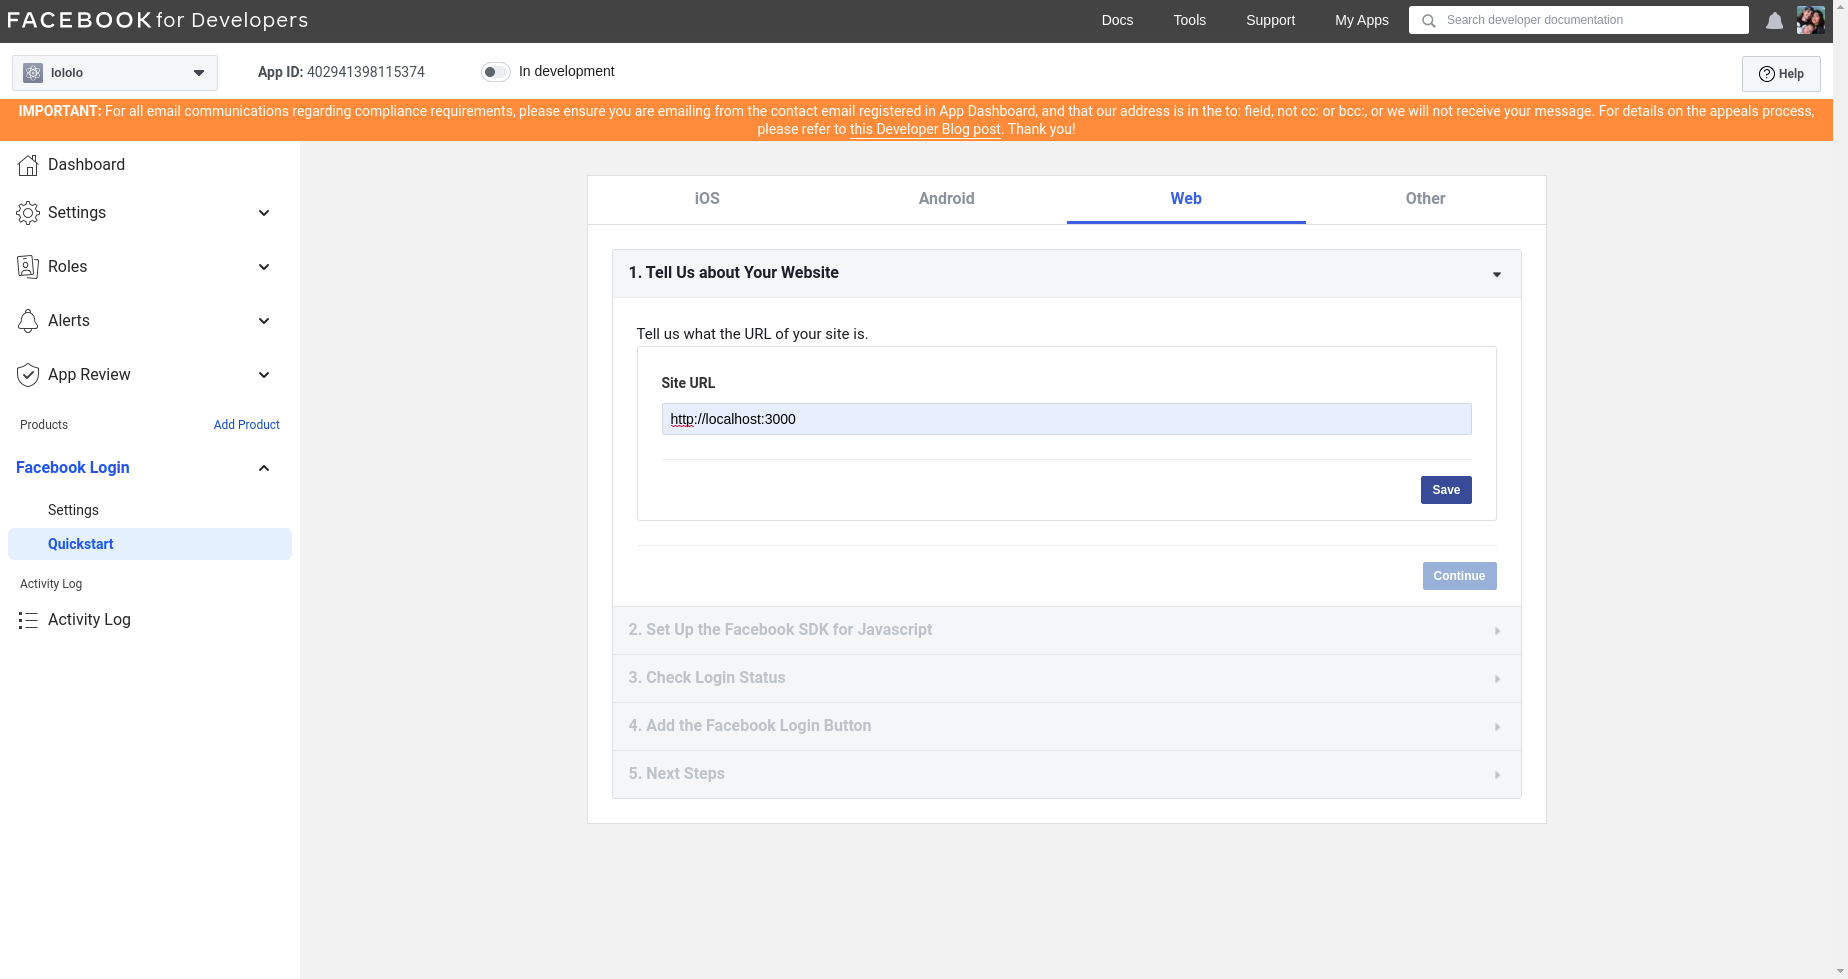
- Since we will be testing in it locally, we will enter the website :
http://localhost:3000/

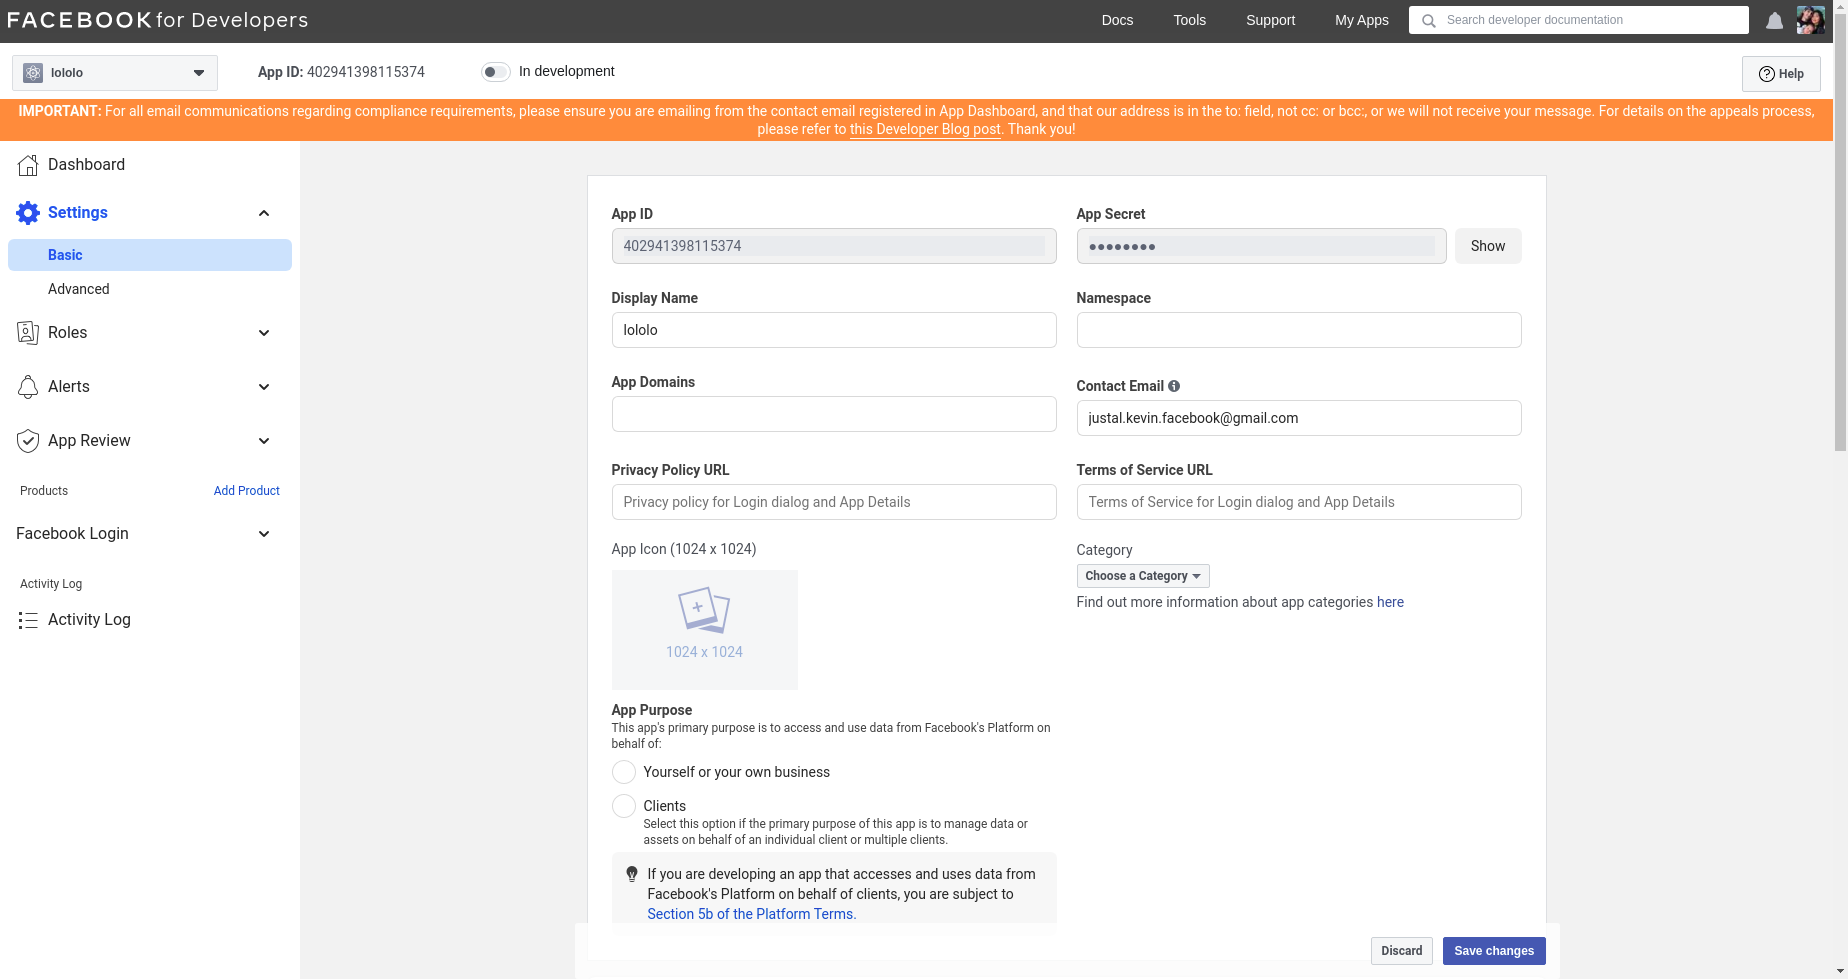
- We then arrive on a page where we can find the ClientId (App ID) and the ClientSecret (App Secret) to enter in our
config.jsfile

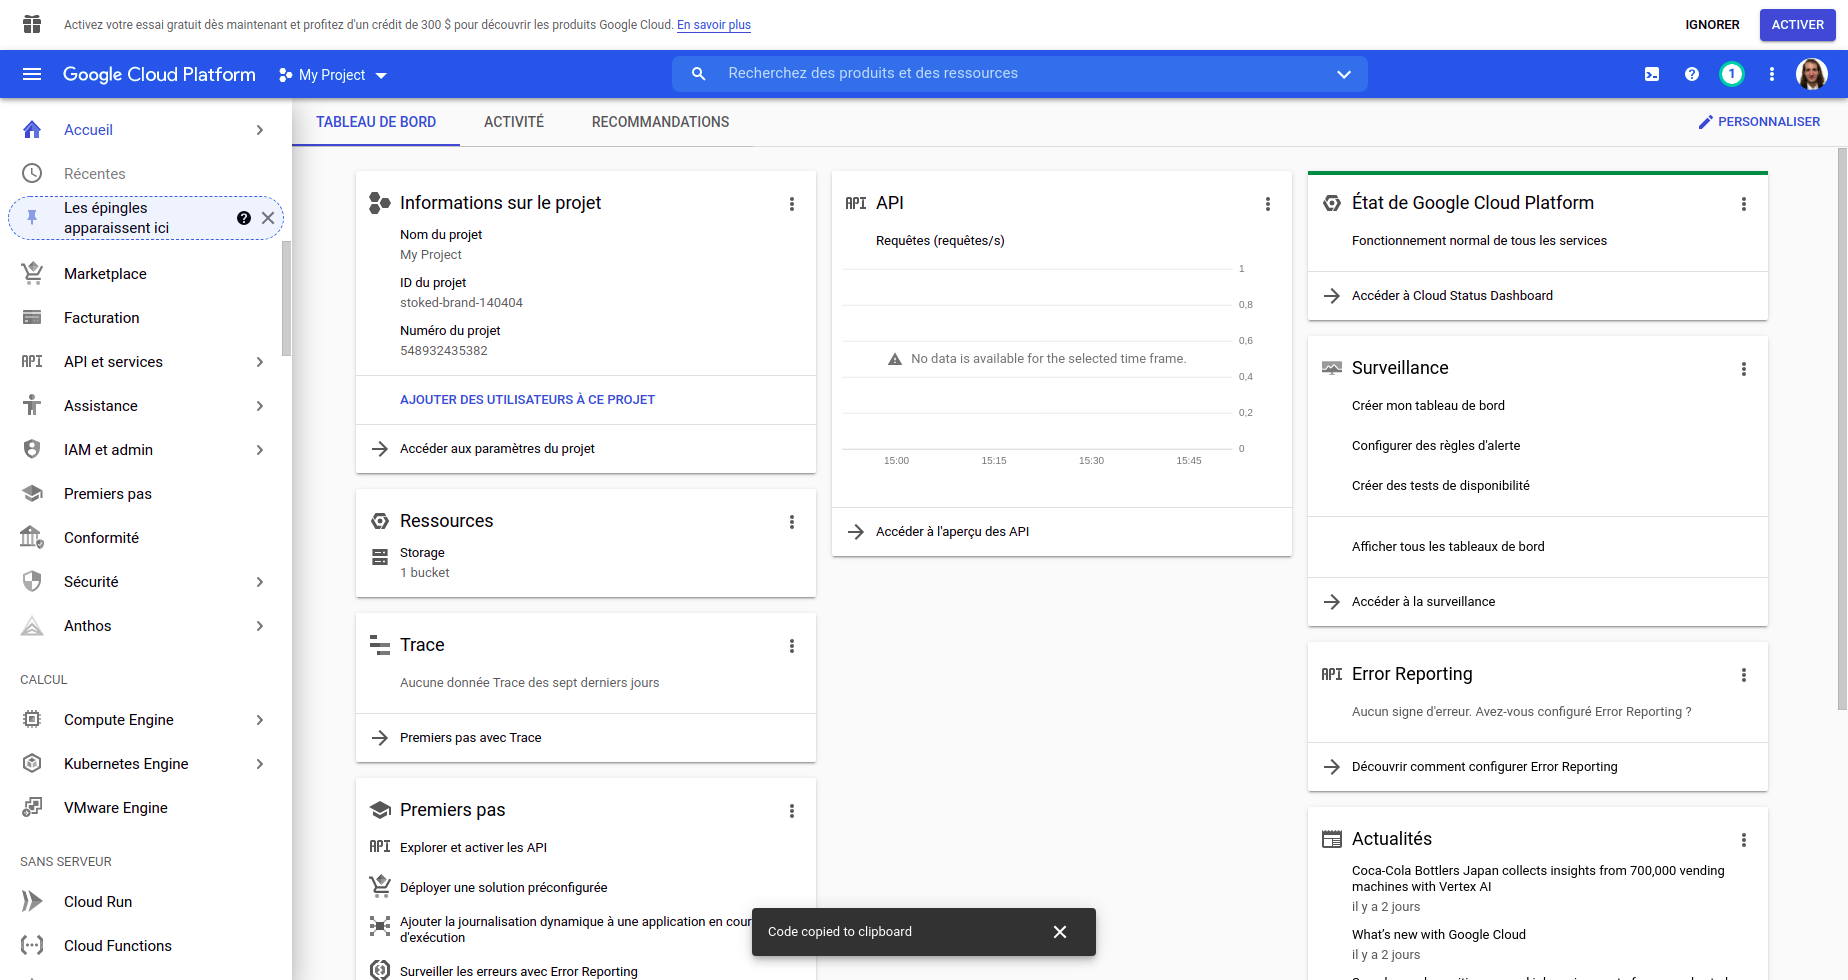
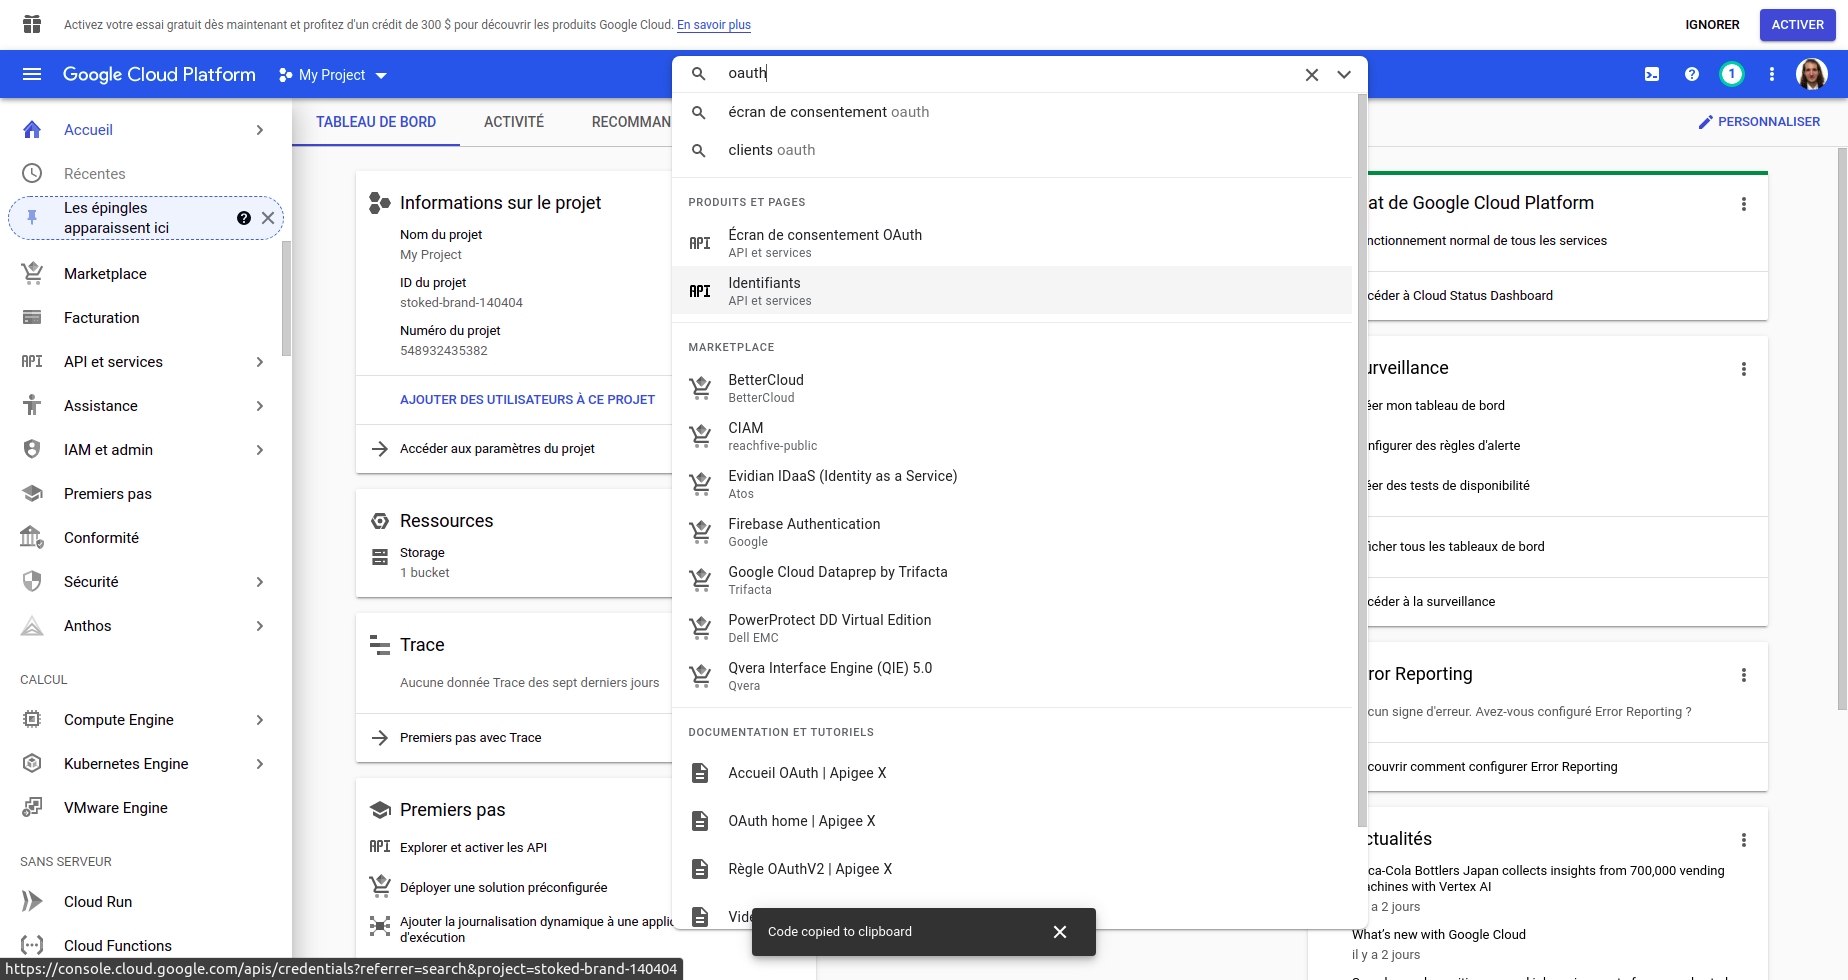
- First, connect to the google console : https://console.cloud.google.com/

- Search in the bar on the top
oauthand click onidentifiants

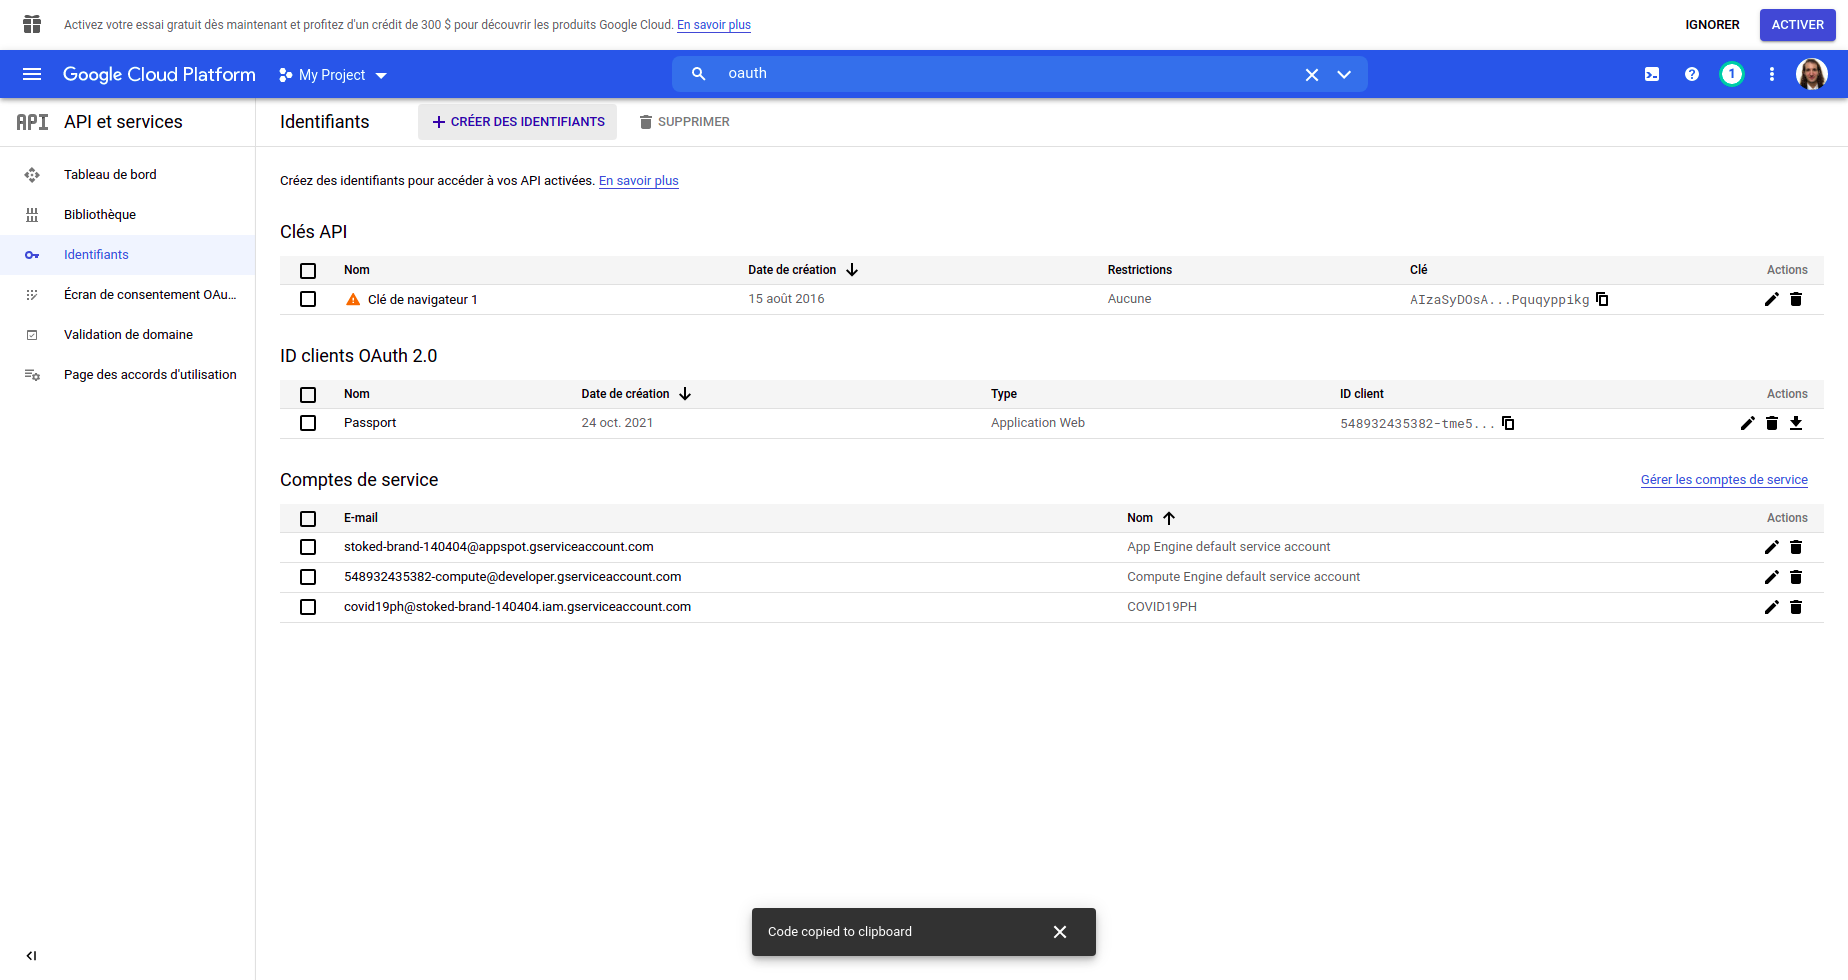
- Once the page loaded, click on the top
create identifiants

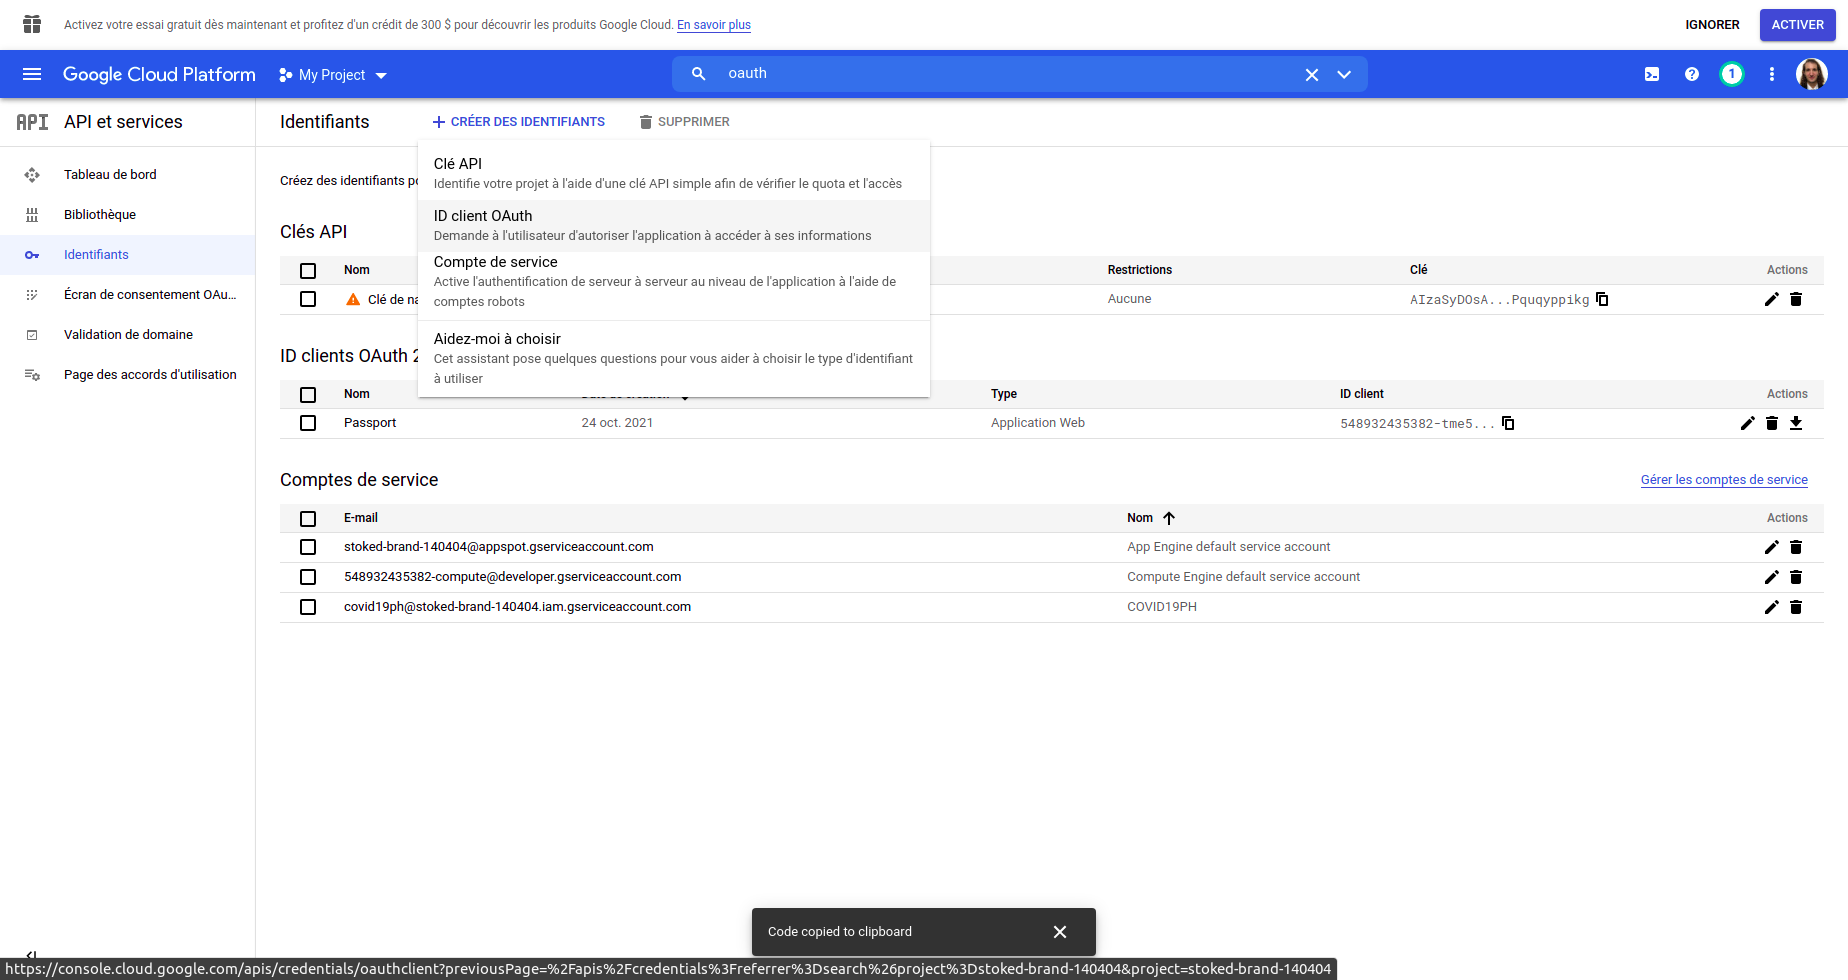
- In the dropdown, click on
ID Client OAuth

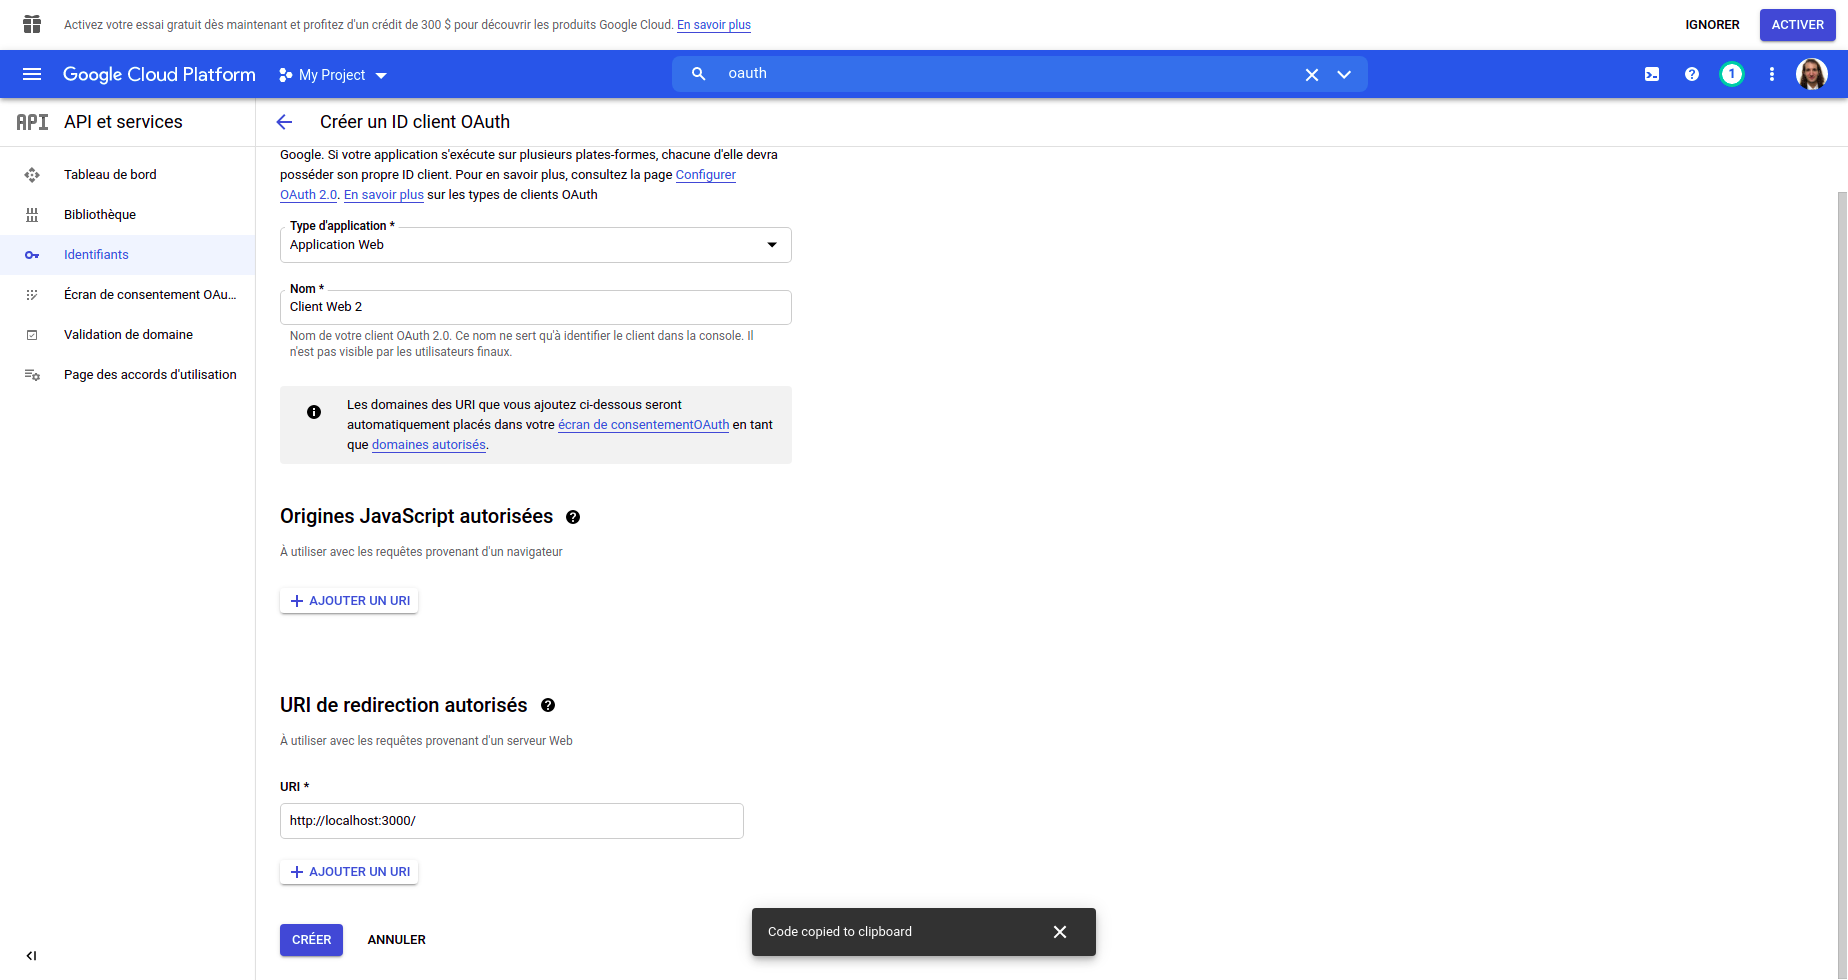
- Choose the type of application (
web applicationin this case), add a name and dont forget to add the redirection URI at the bottom. Since I am working locally, it will be : http://localhost:3000

- You then will get a popup with the ClientID and ClientSecret that you can copy and paste into the
config.jsfile.

 https://github.com/JustalK/LABORATORY-PASSPORT
Leave a Reply